Grade 11
I am currently in grade 11 taking my school’s visual arts course. This course allows us to work in whatever median we would like to and gives us the freedom to do what we would like, as we are incharge of our creative processes.
Gallery
Click on an image to explore further.
My Works
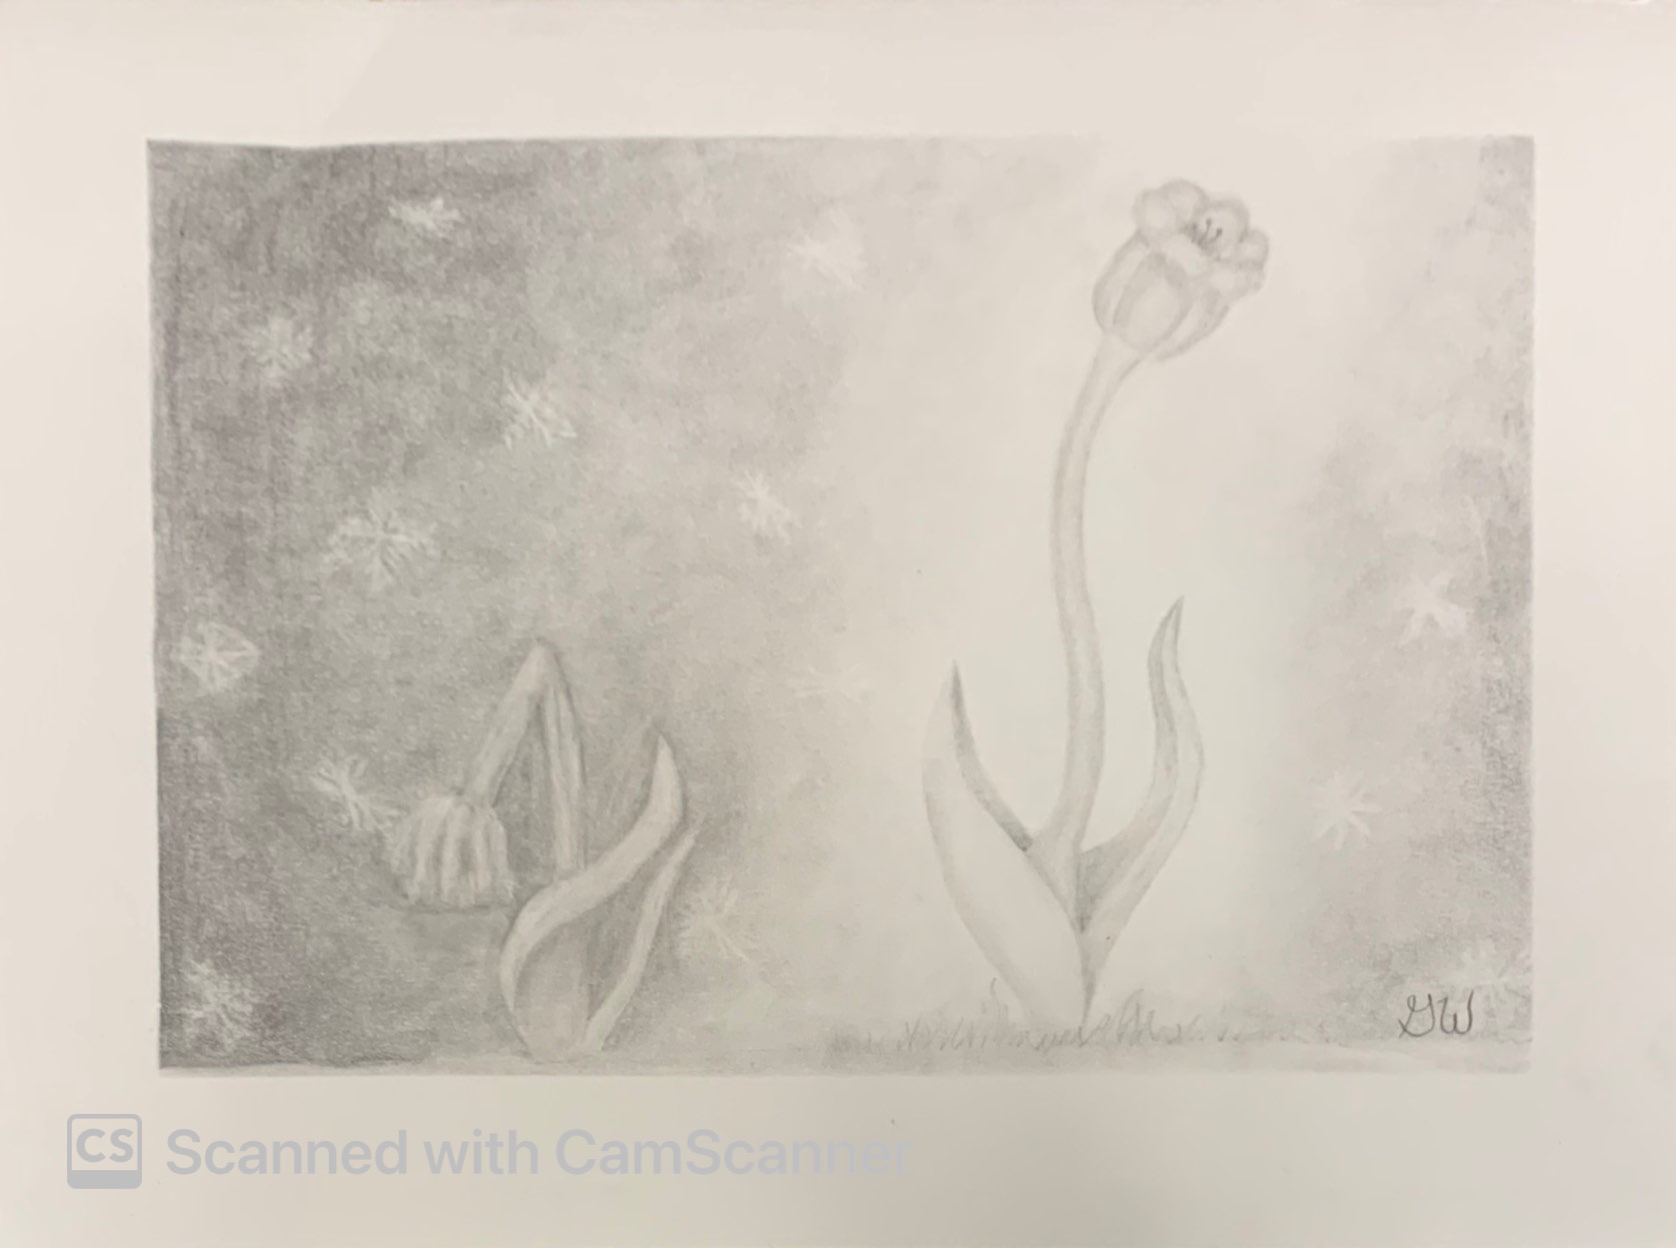
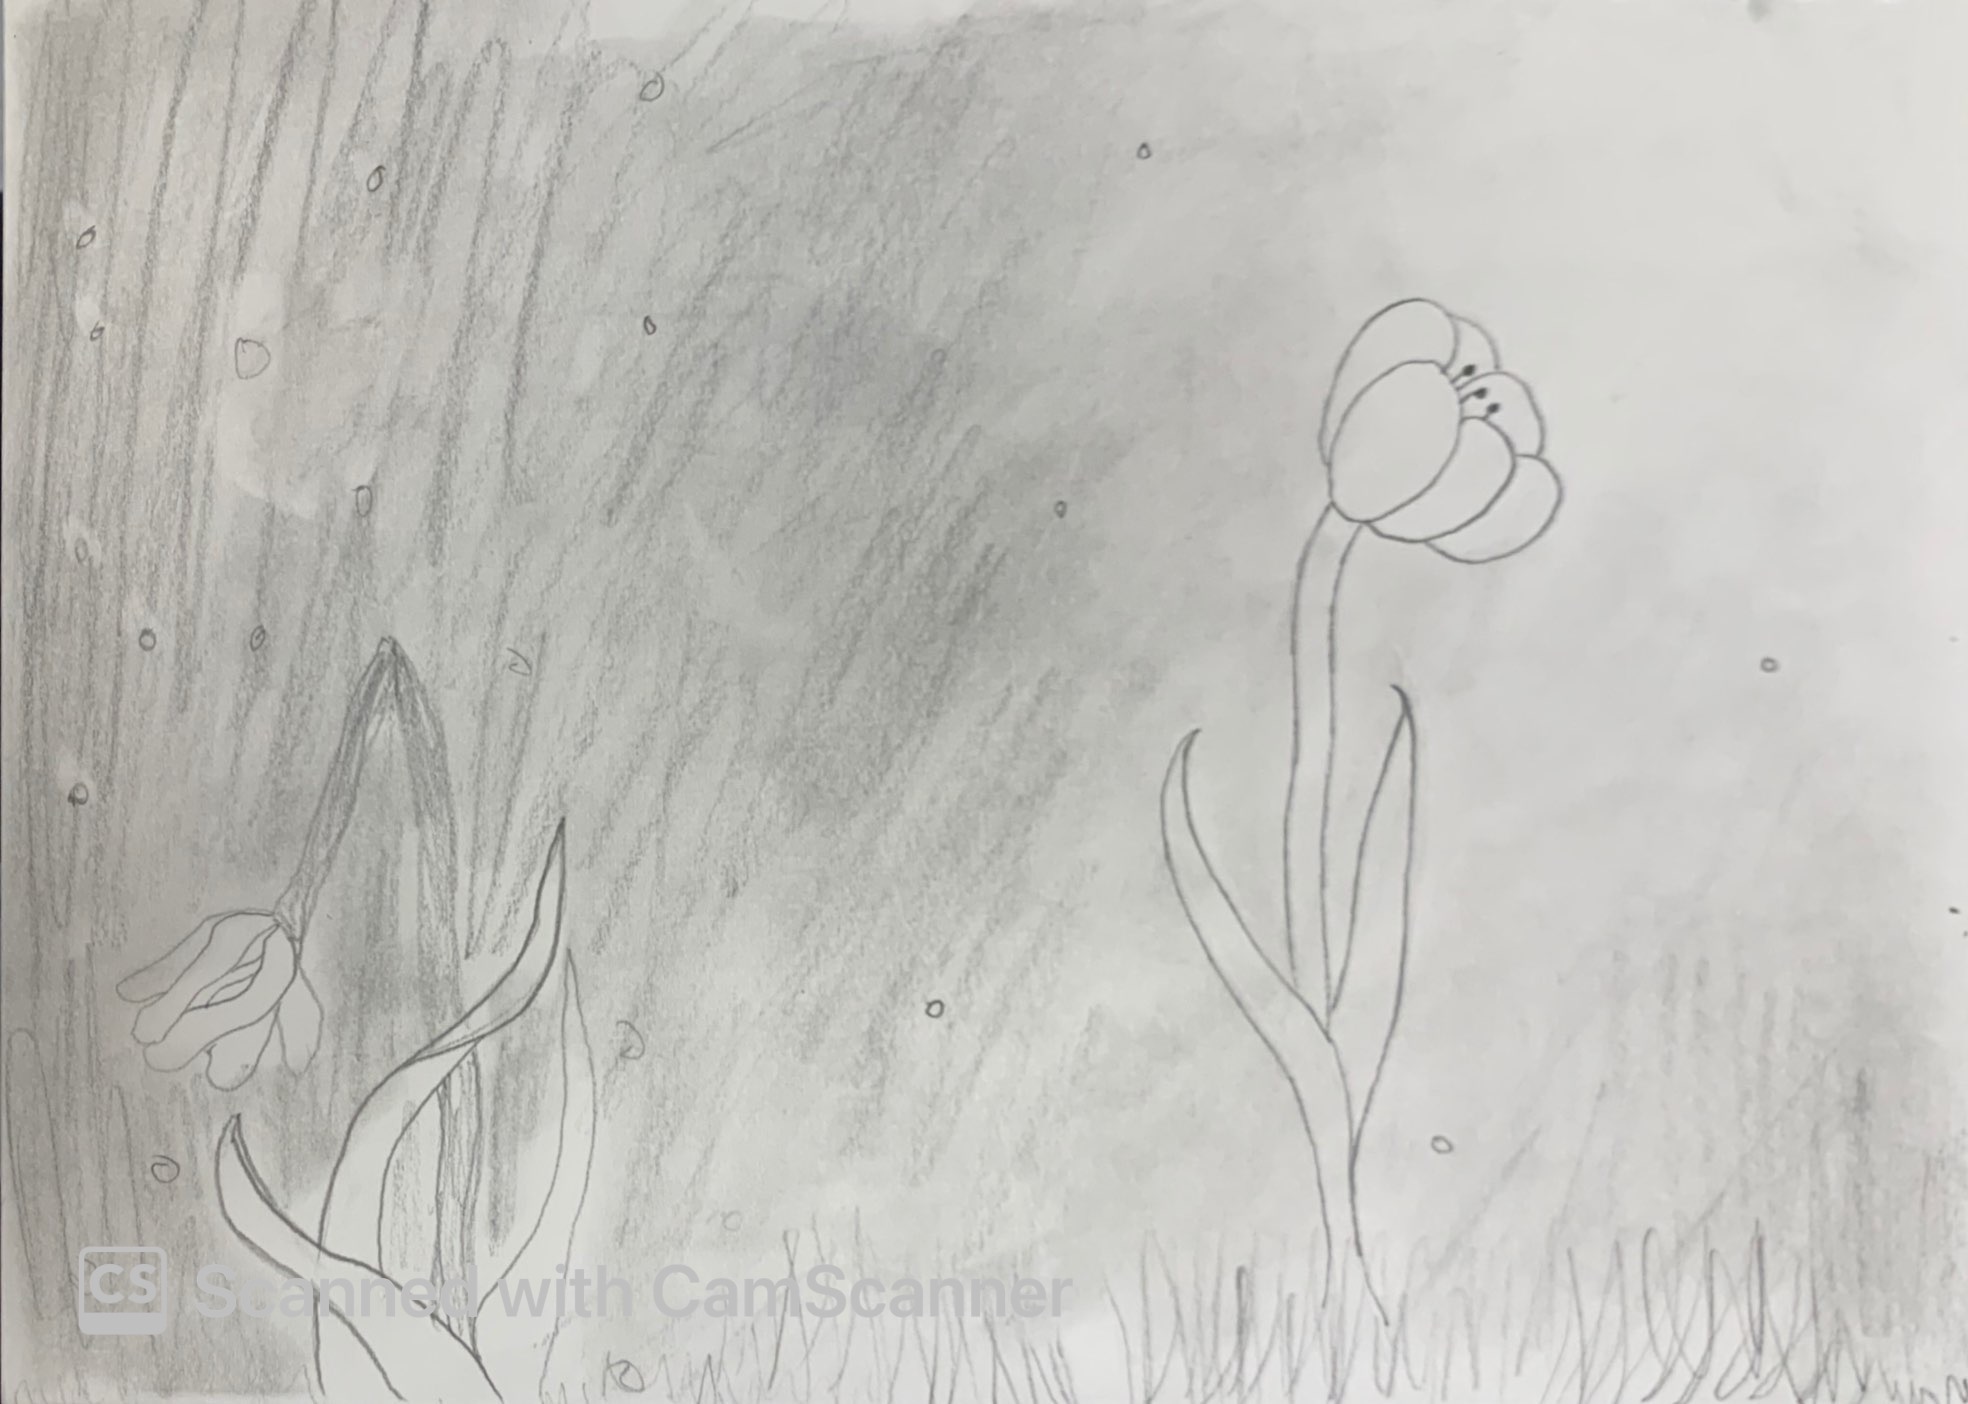
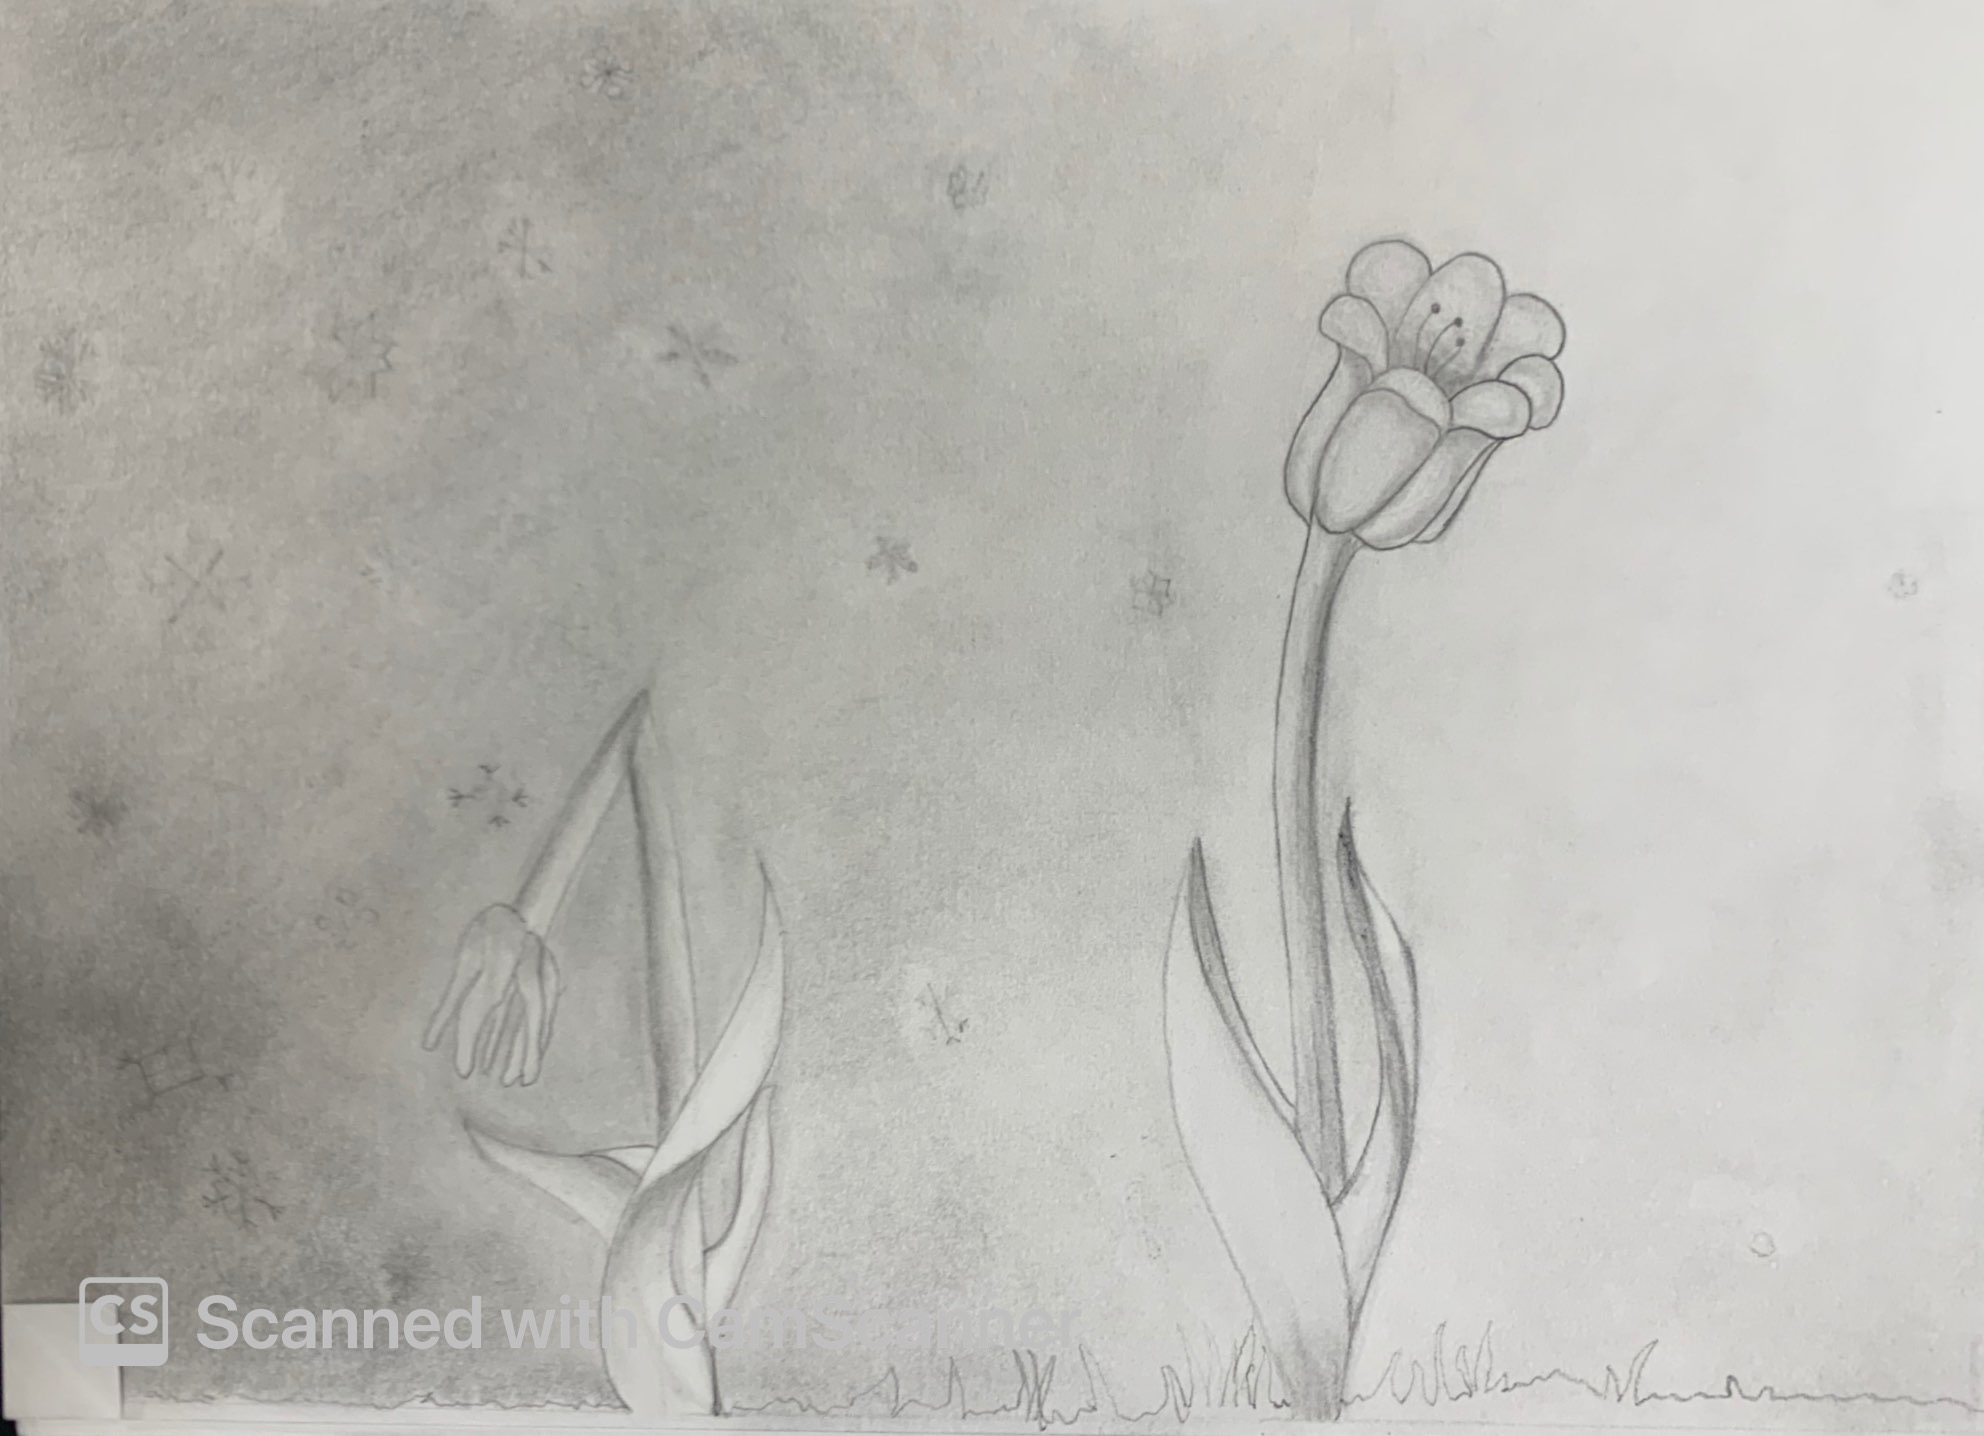
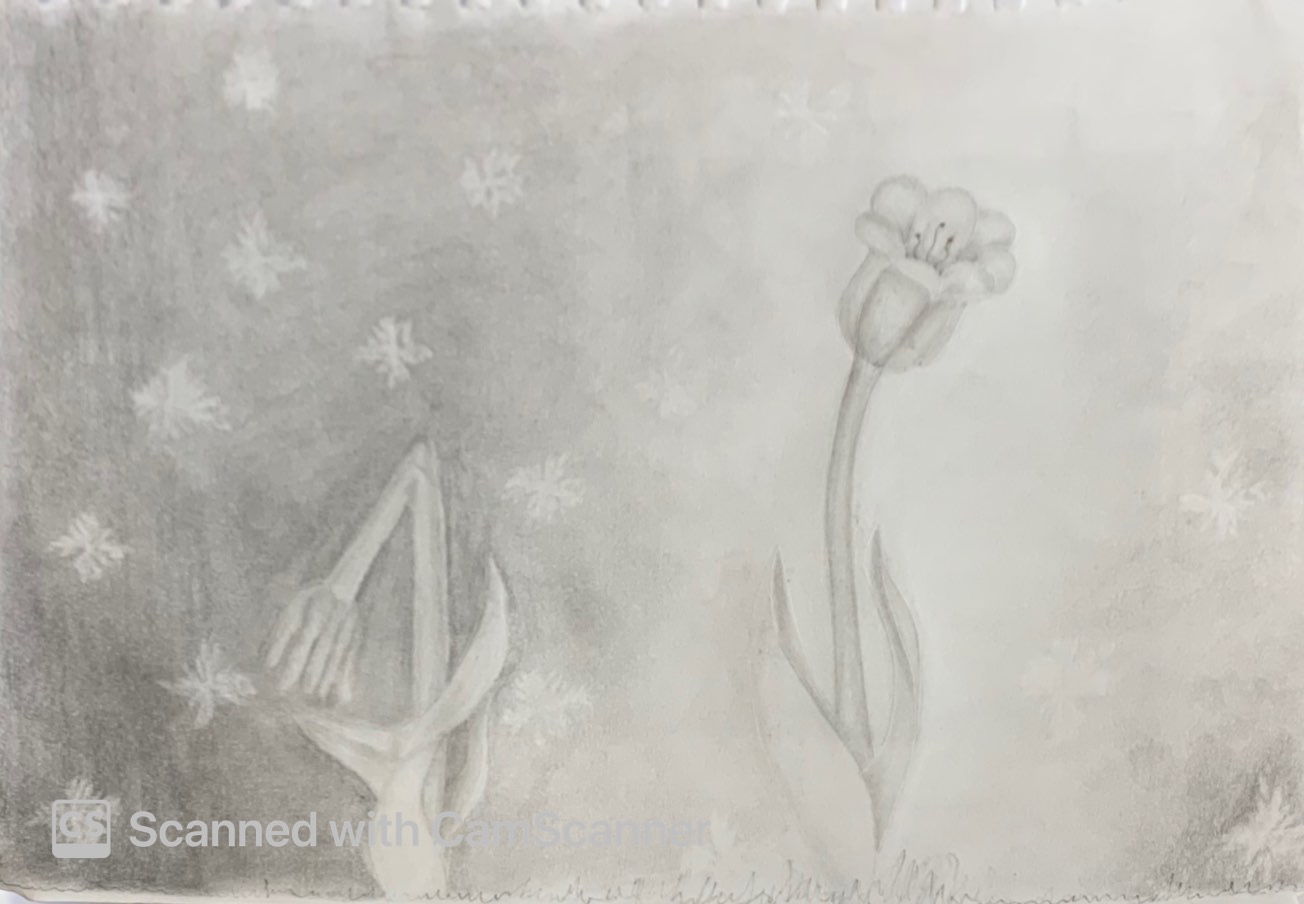
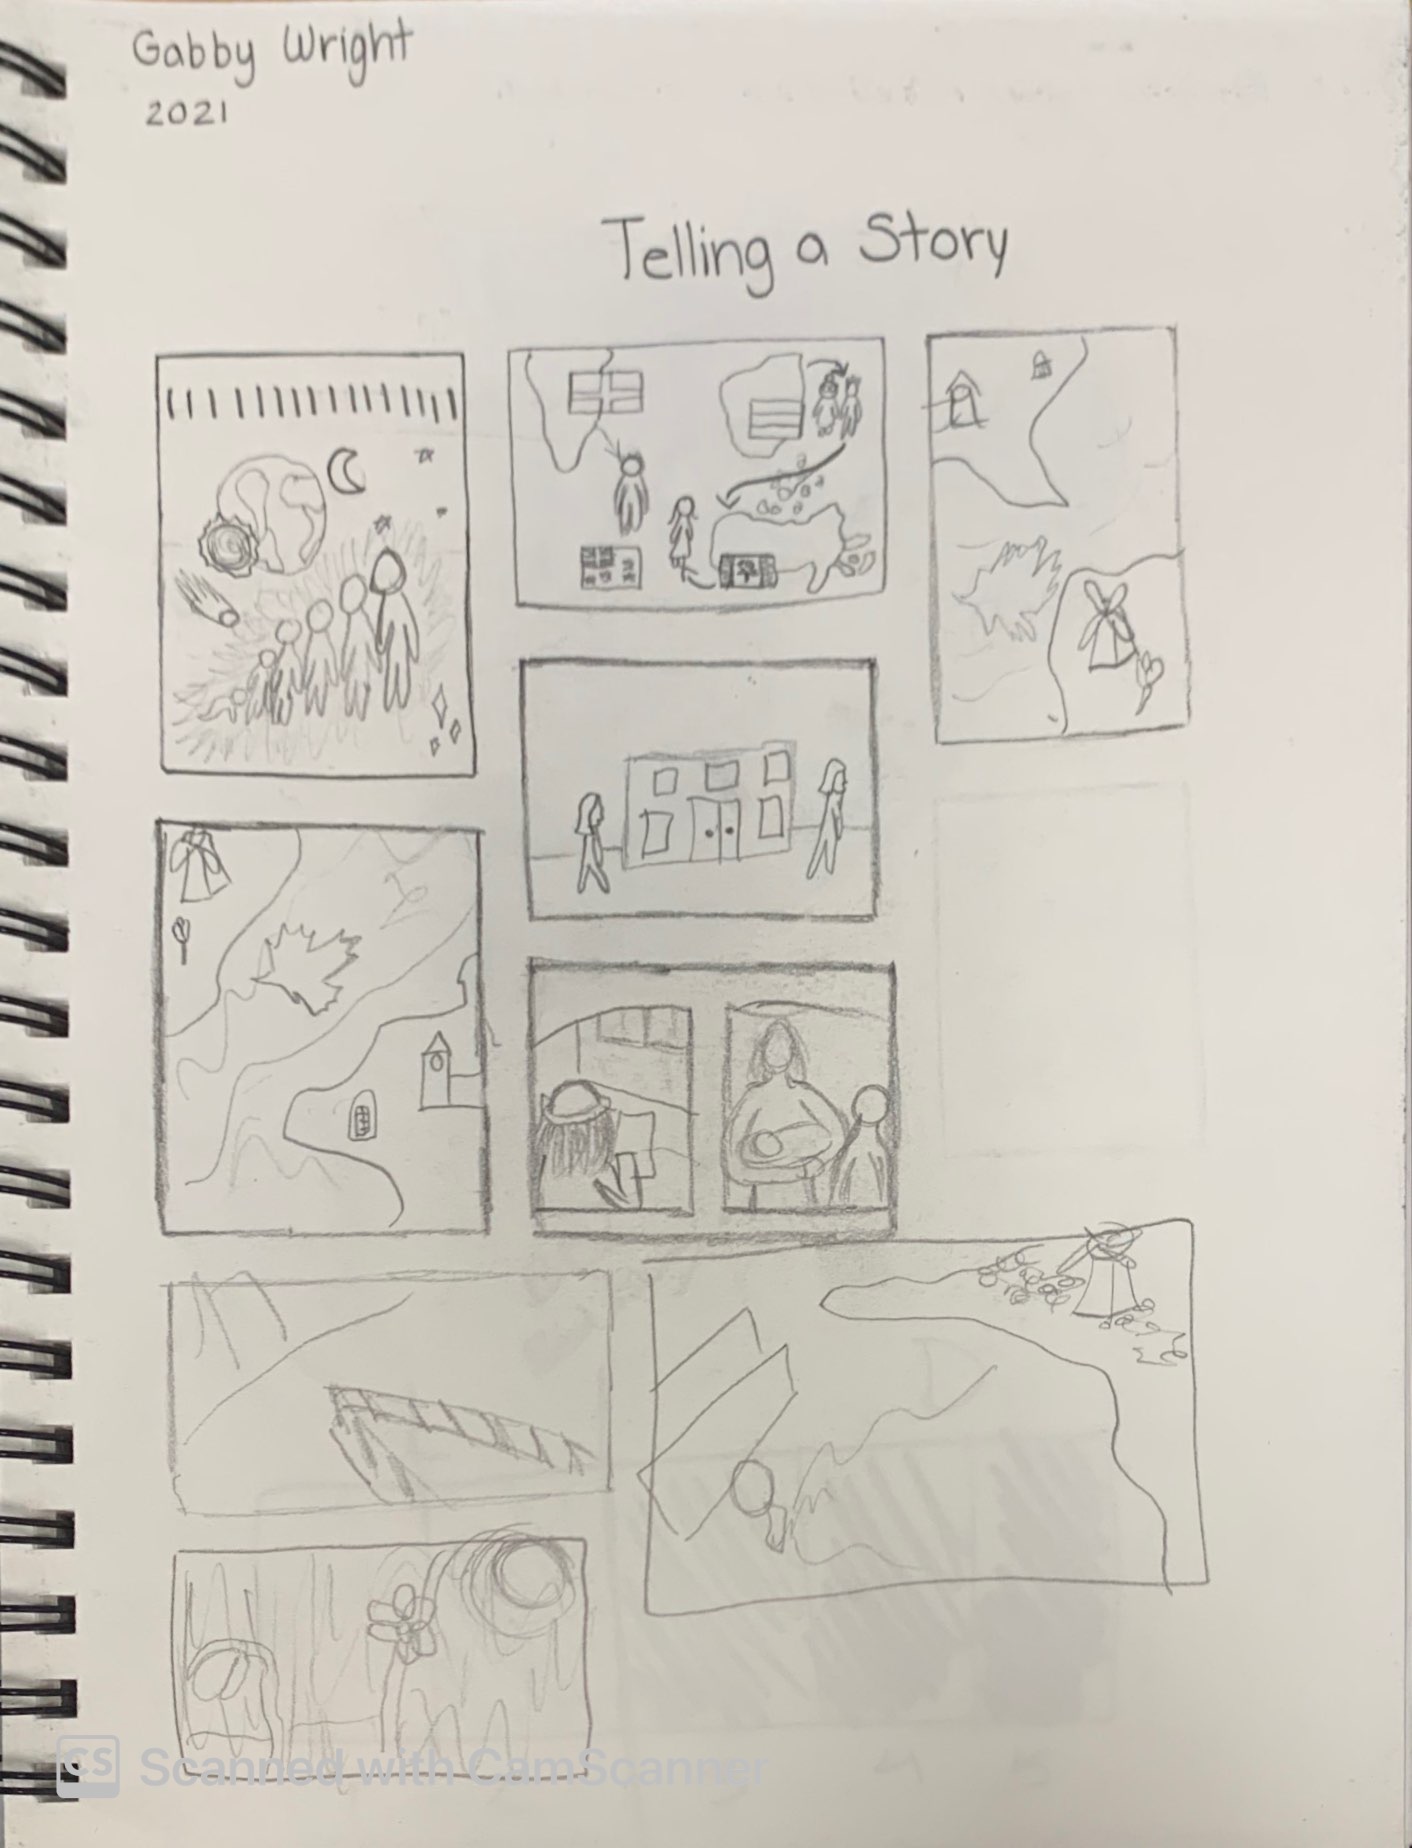
Flower of Hope
Click on an image to explore further and see more.
Medium
Drawing
Dimensions
8.5″ x 12″
Material(s)
Stone Hinge Paper, Graphite Pencil, Blending Stomps
Date
September 2021
Artist Statement
This piece was inspired by feelings of loneliness, sadness, and numbness that I had been going through recently. The background of the dead/dying flower is very dark whit snowflakes which represents the atmosphere of loneliness and depression encroaching on the flower. The dead/dying flower represents how the impacts of these feelings I have felt have affected me and the damaging results they have placed on my mental health. The essence of sadness, coldness, and feeling trapped inside of a constant cycle of a dampned mood are heavily represented in this part off the drawing. On the contrasting side, the white beam of light coming down over the very healthy and alive flower represents the saving grace I had when I was feeling this way. It represents friends, family and the hope I felt when faced with genuine connection and relationships. The very healthy and alive flower respresents the times when I am feeling my best, when I have a good routine and am constantly feeling happy and content with life. I wanted to demonstrate the warm and energizing feelings I get when I am in a positive environment and how it affects me, the flower. Although I have good days and bad I am really happy with the way that this drawing demonstrates the different ways that I feel when I’m in these different seasons of life. Although there are times when I feel that my negative headspace will never go away, this piece reminds me of the ways I can start feeling better and myself again.
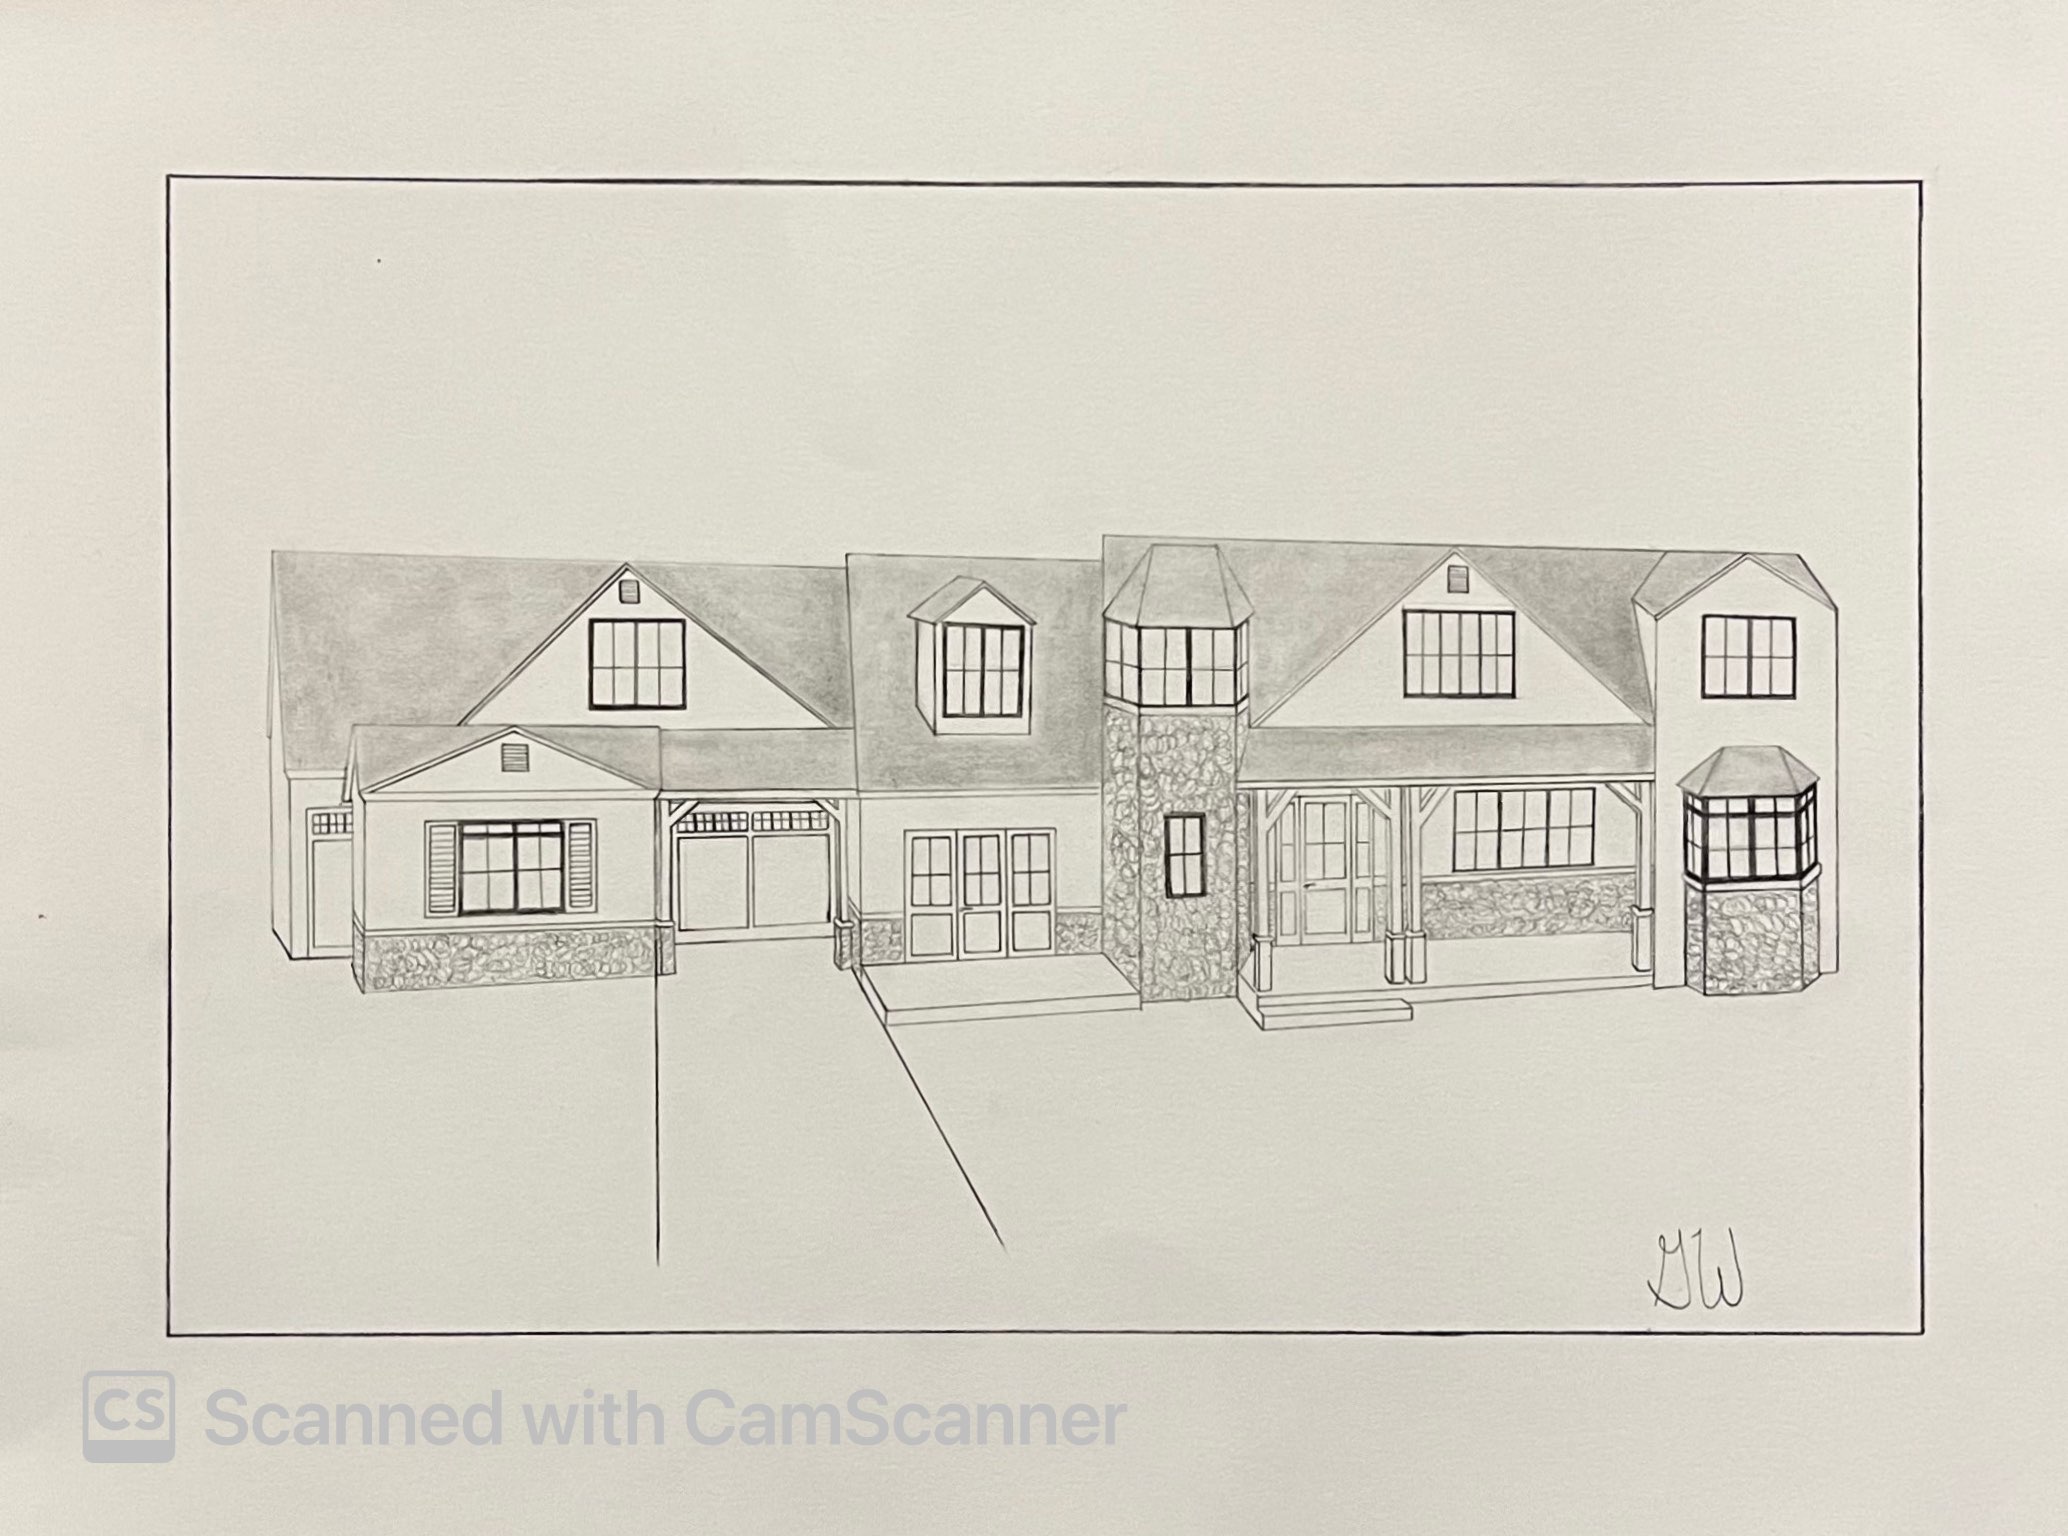
Artisan Farm Home
Click on an image to explore further and see more.
Medium
Drawing
Dimensions
8.5″ x 12″
Material(s)
Stone Hinge Paper, Graphite Pencil, Ruler, Blending Stomps
Date
October/November 2021
Artist Statement
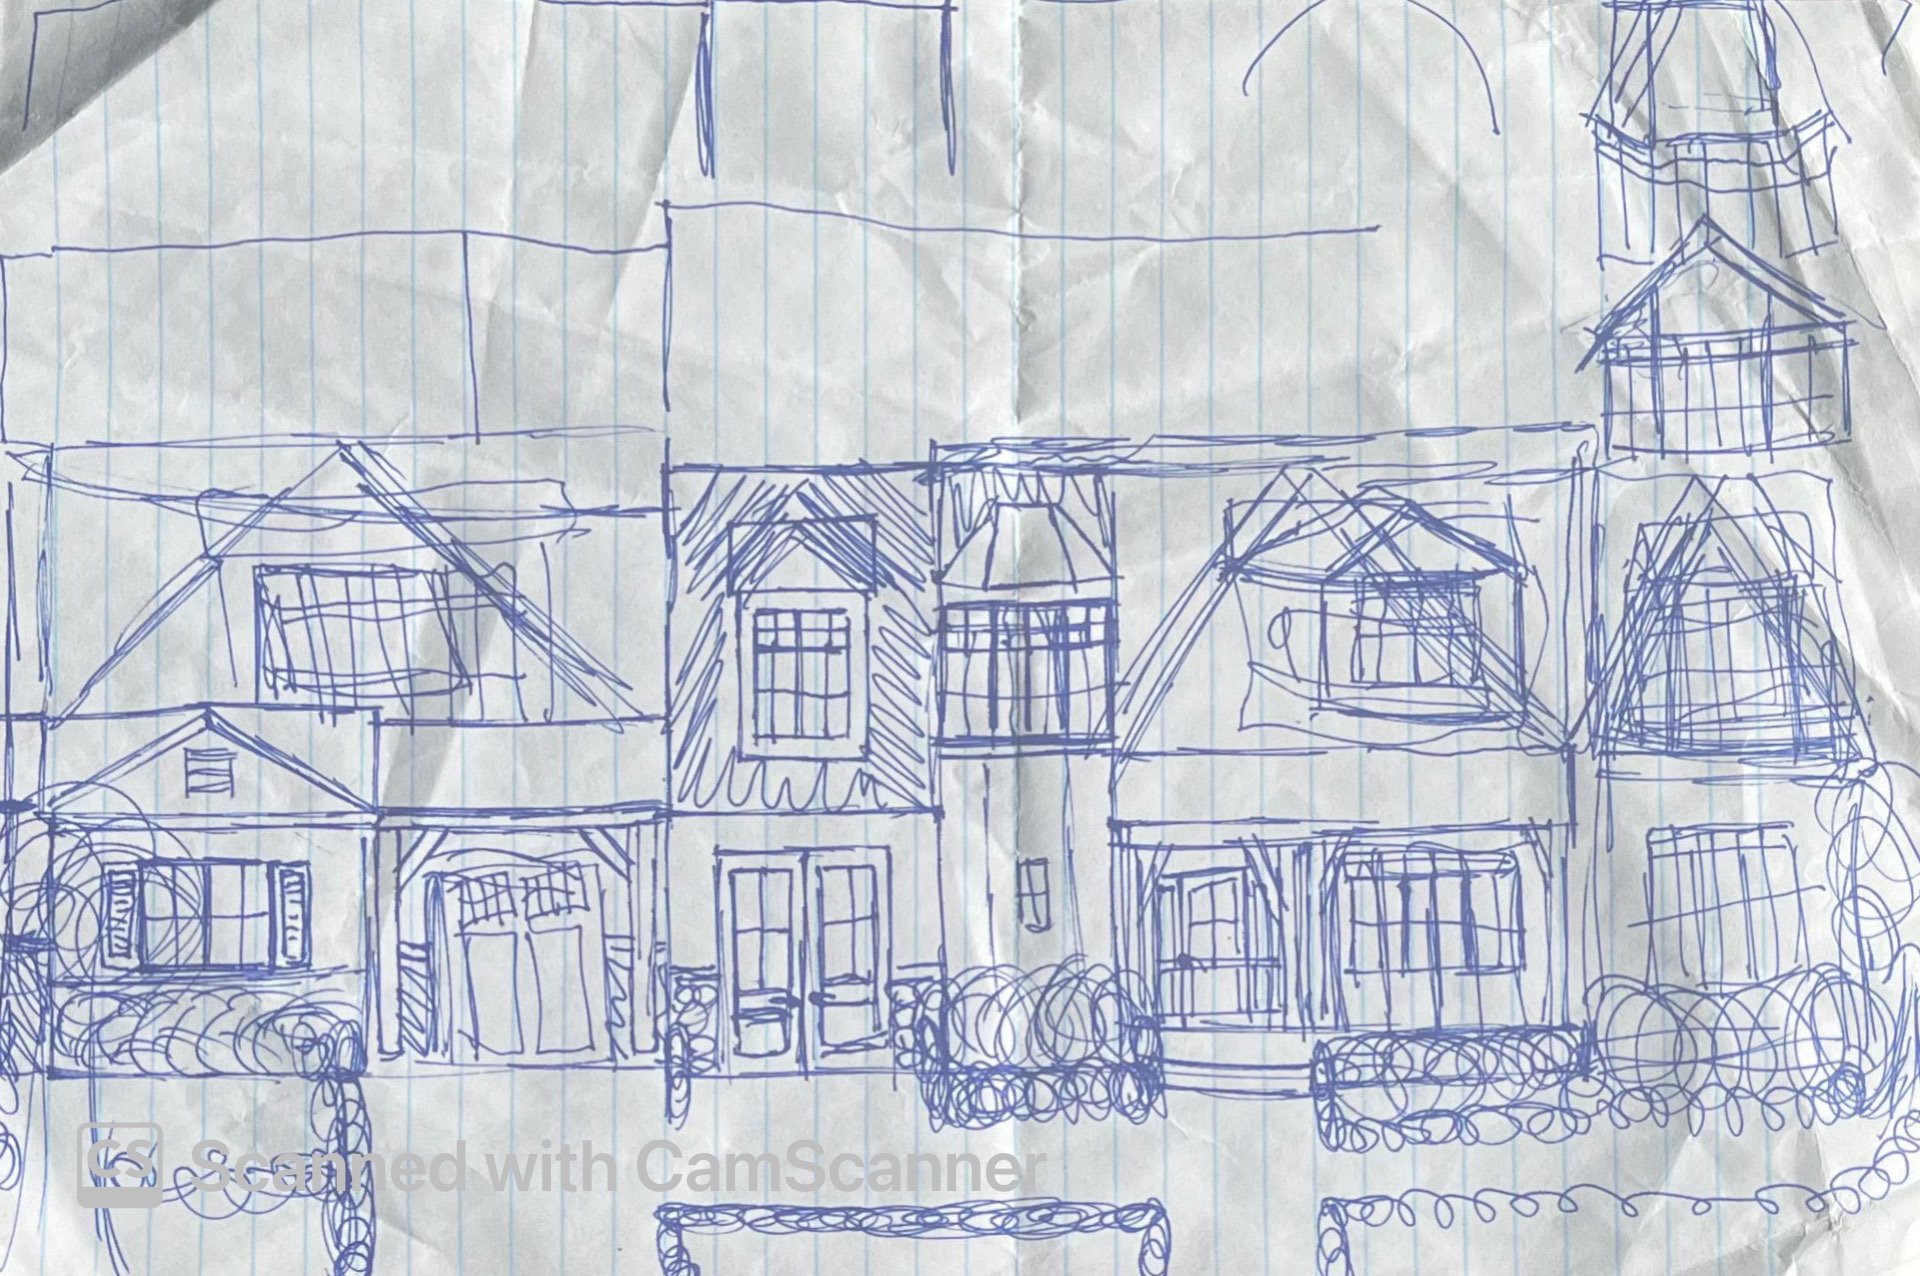
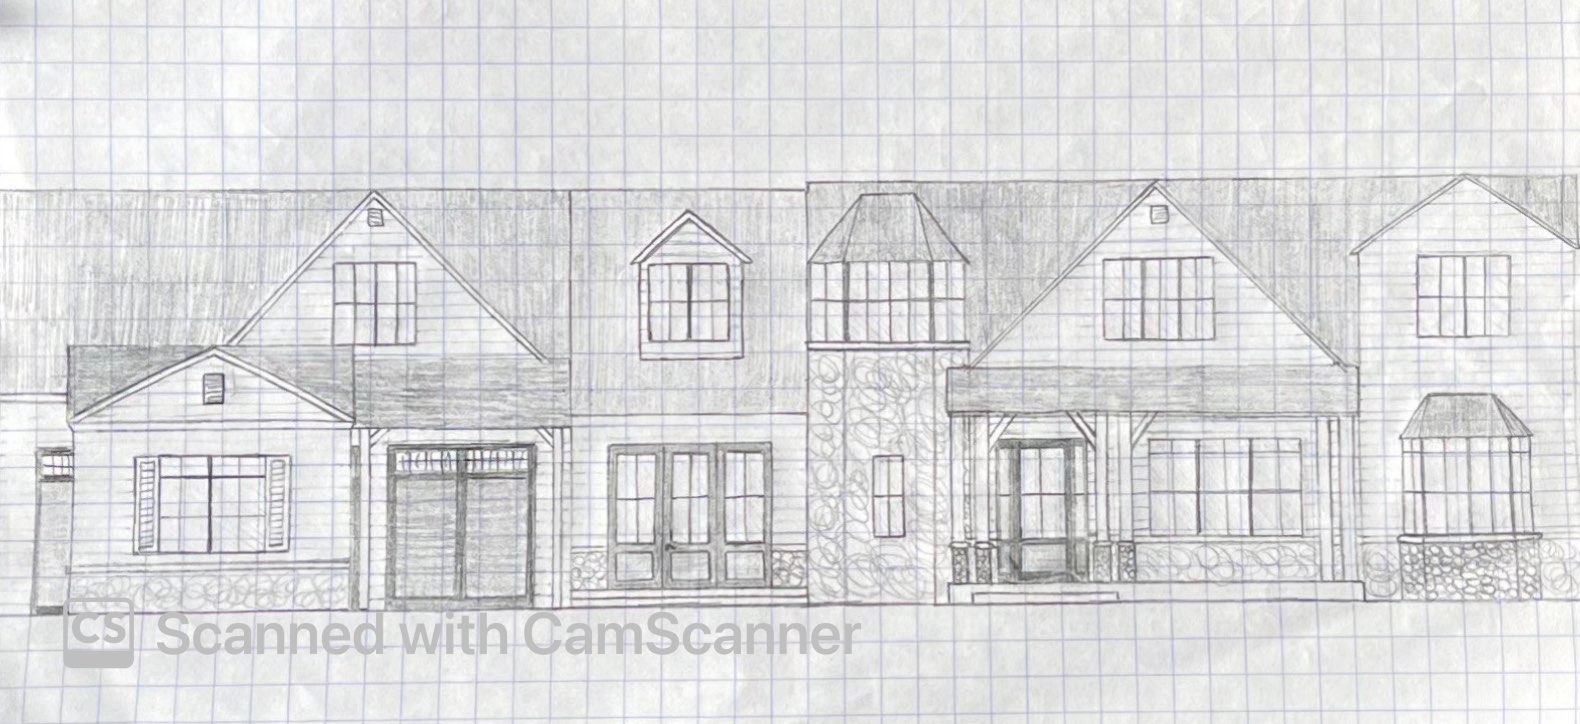
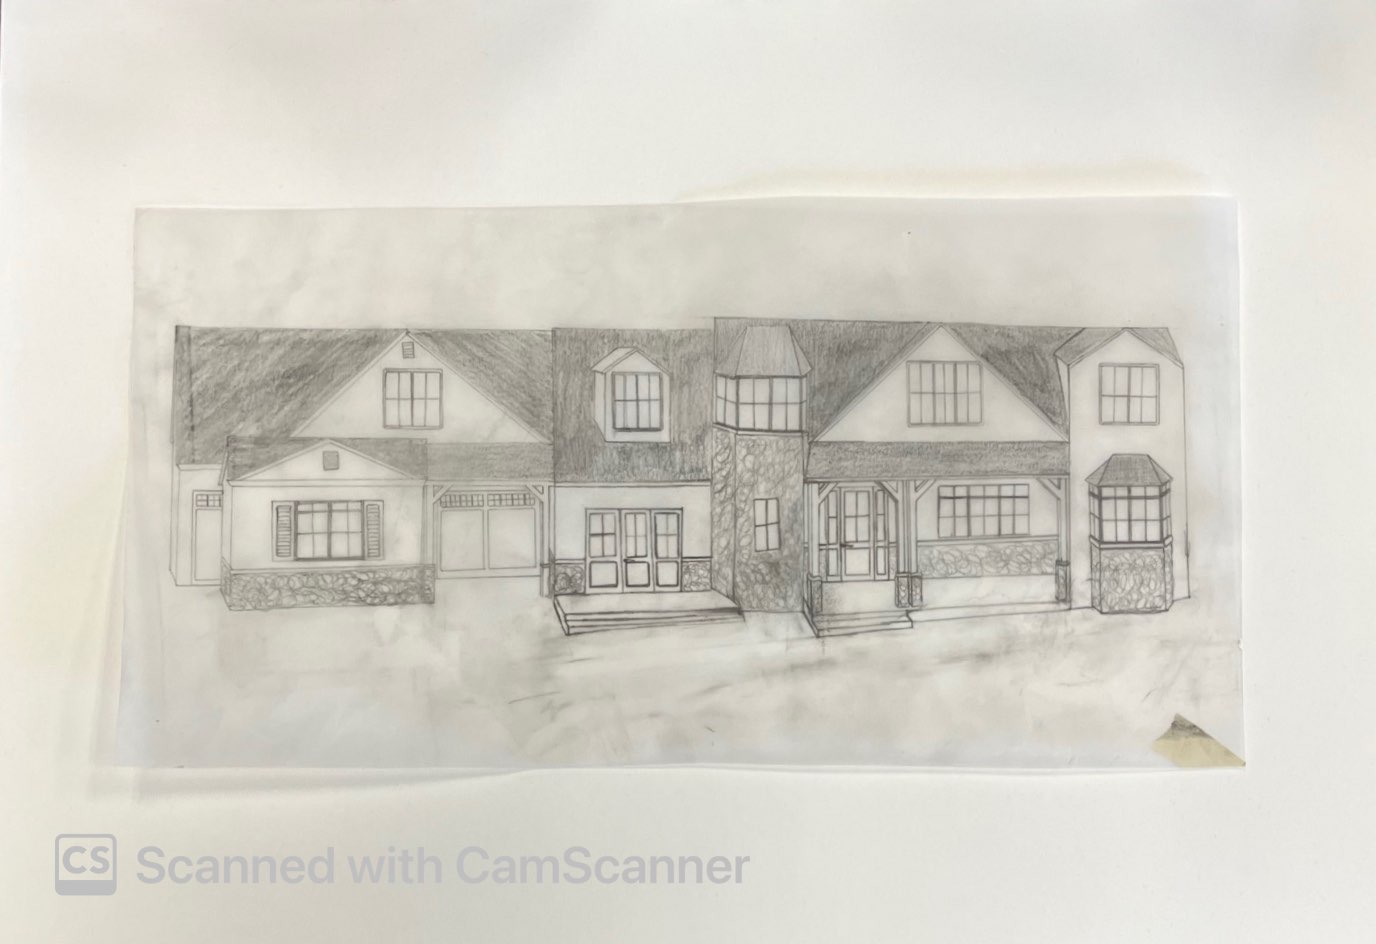
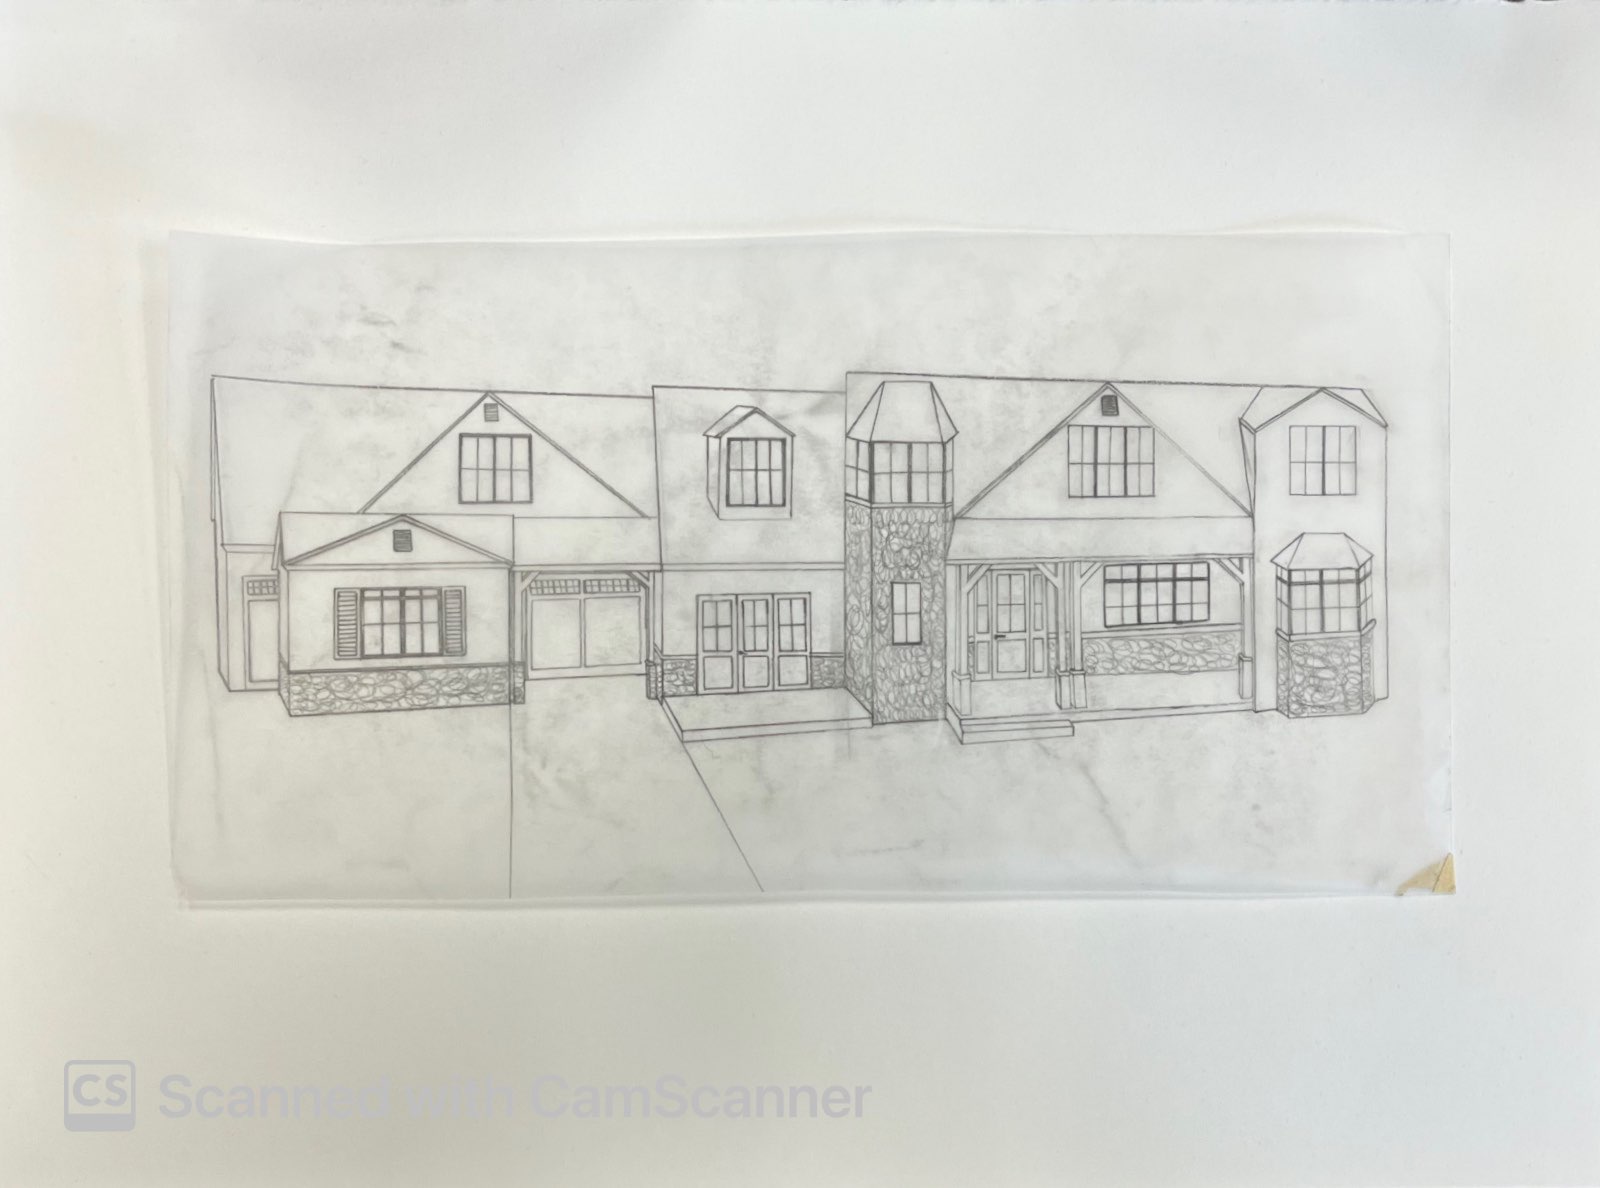
This is one of my favorite projects so far. Ever since I was young I have always been obsessed with houses: real estate, exteriors, floor plans, finishes, you name it. Over the years one of my favorite hobbies has been taking some graph paper and a pen and drawing out floor plans. I probably have hundreds scattered across my house and in my room. I would spend hours on the sofa or in my room drawing out all of these different home floor plans. Recently my dad has been mentioning that I should start drawing the exterior of houses, but I never got around to it until this project. The home exterior that I created for this project was inspired by my two favorite homes, 11 Howard Avenue and 227 Burgundy Drive both in Oakville. What I love about these homes and what I wanted to emulate in my home is the stone work, craftsmanship, and how it stands apart with its unique architecture. The stonework, beams and columns, porte cochere, and trimwork are all of my favorite areas of my home. A challenge I had when creating this piece was the angles and perspective. Since I wanted the house to appear large on the page that meant the vantage point had to be far off my page. It took three tries to get it right, but now I am very happy with what I have created.
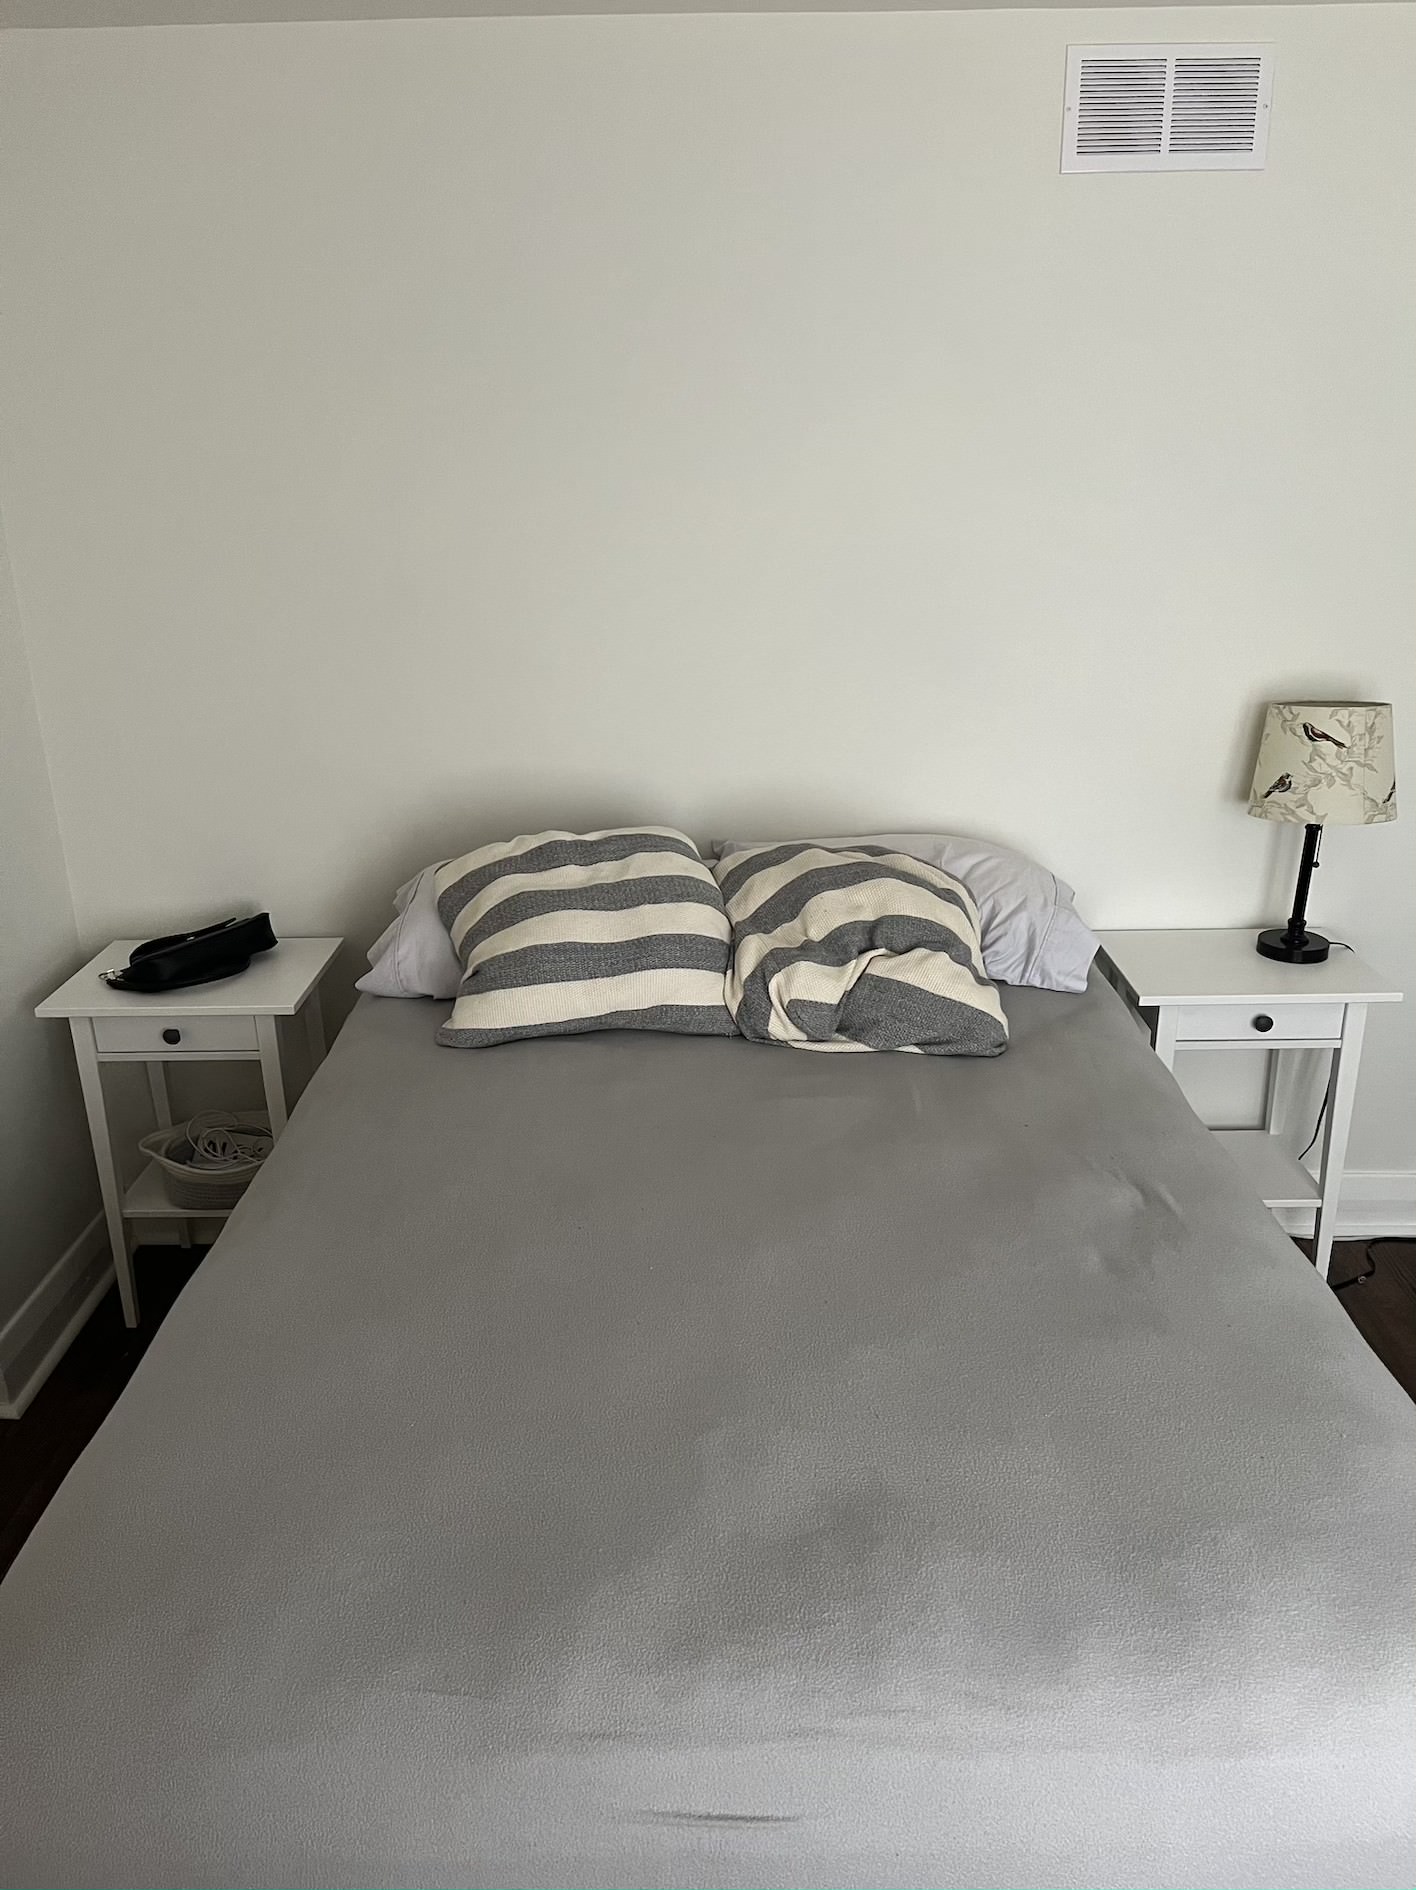
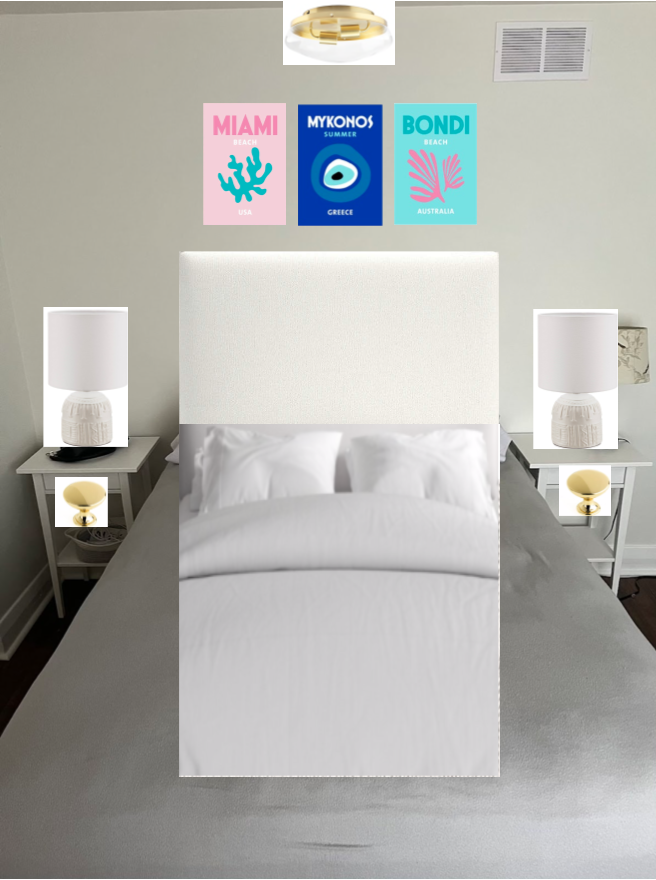
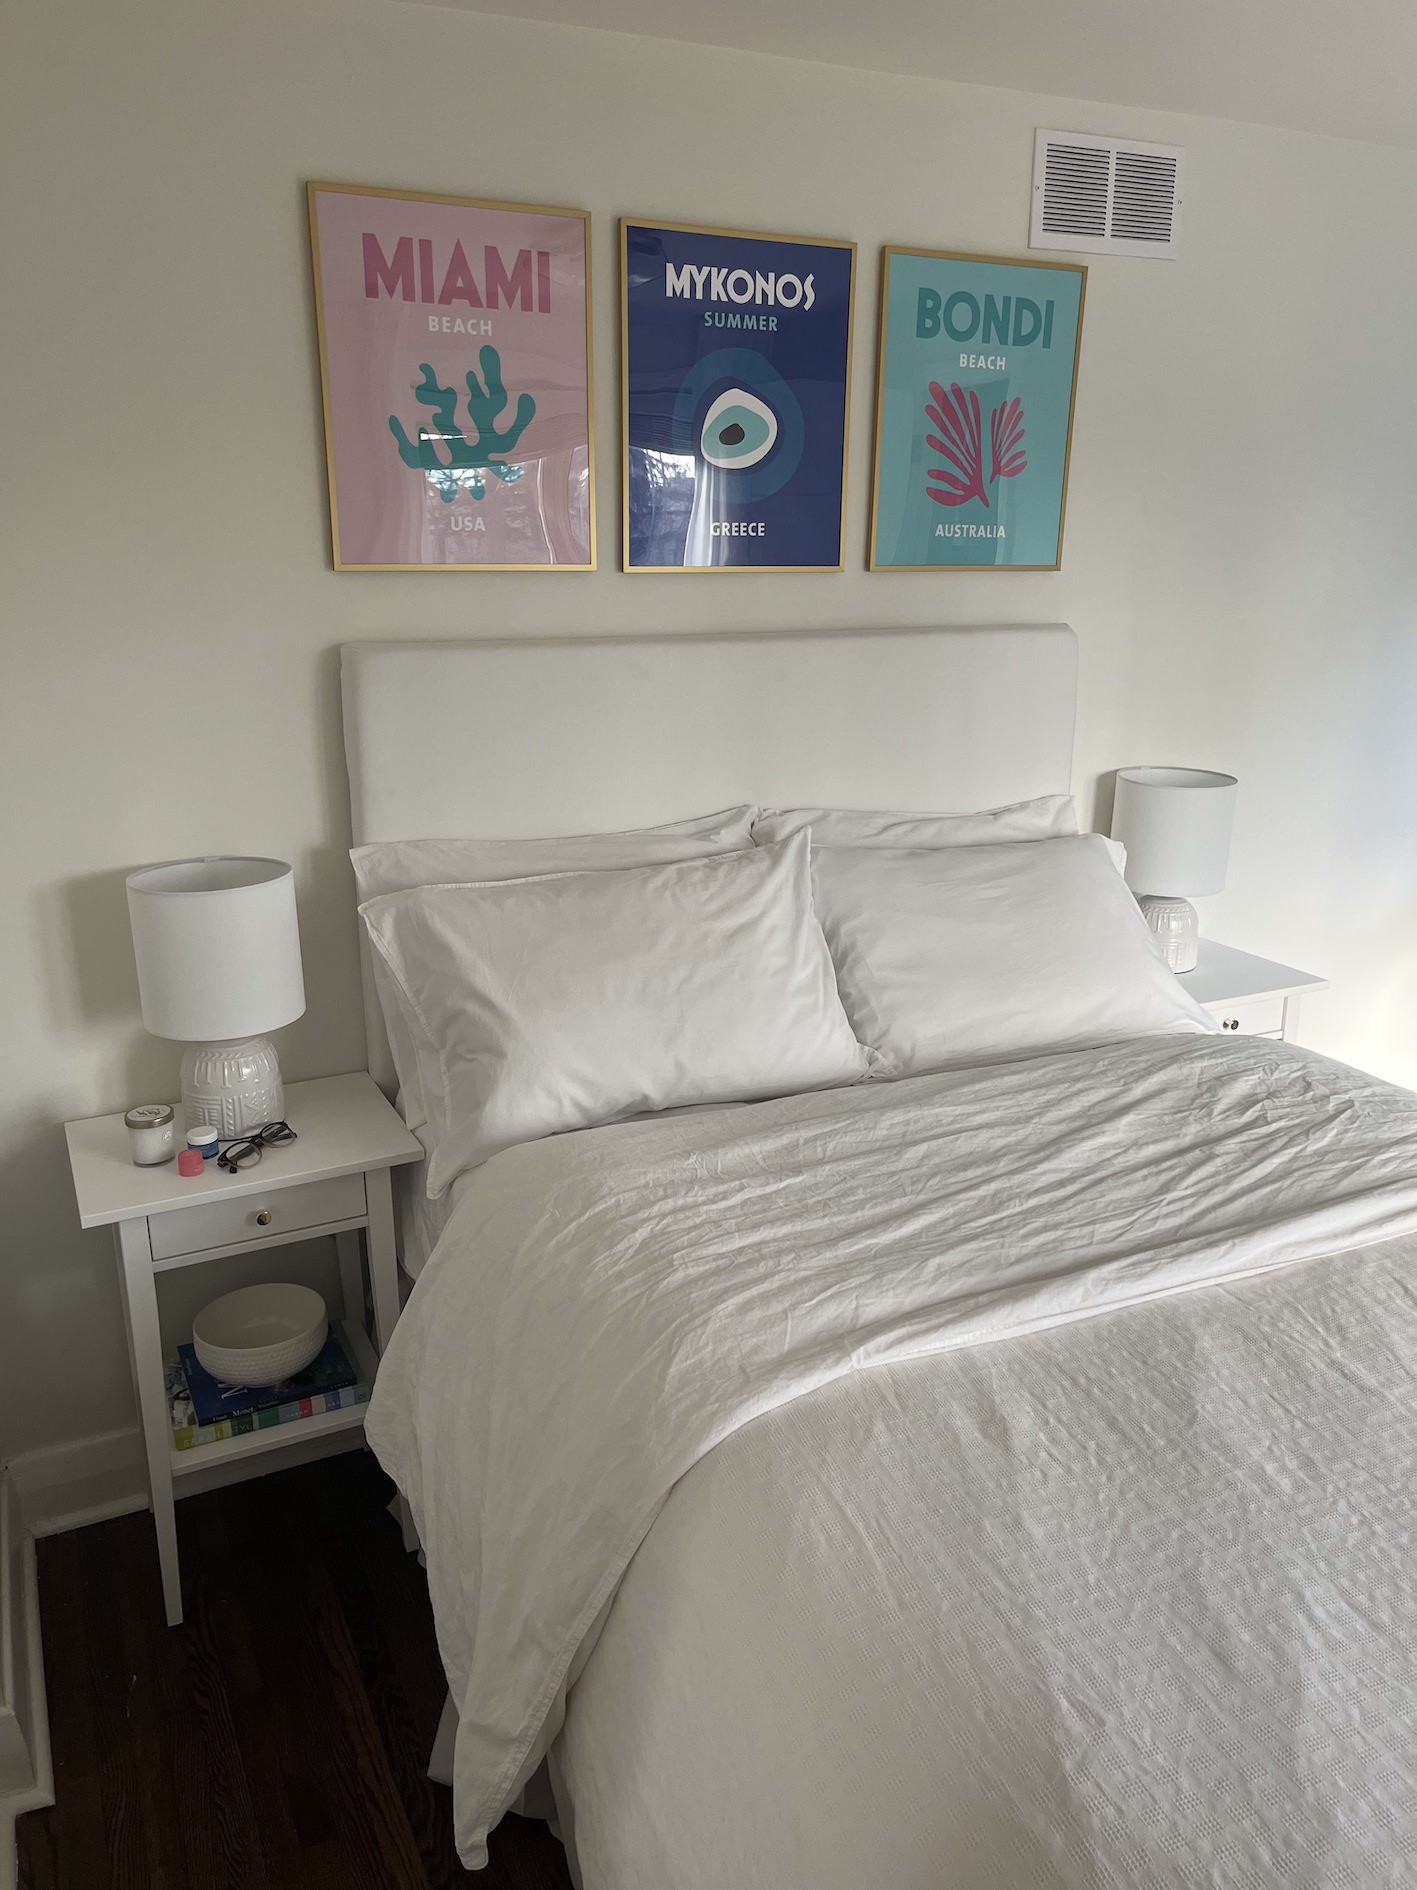
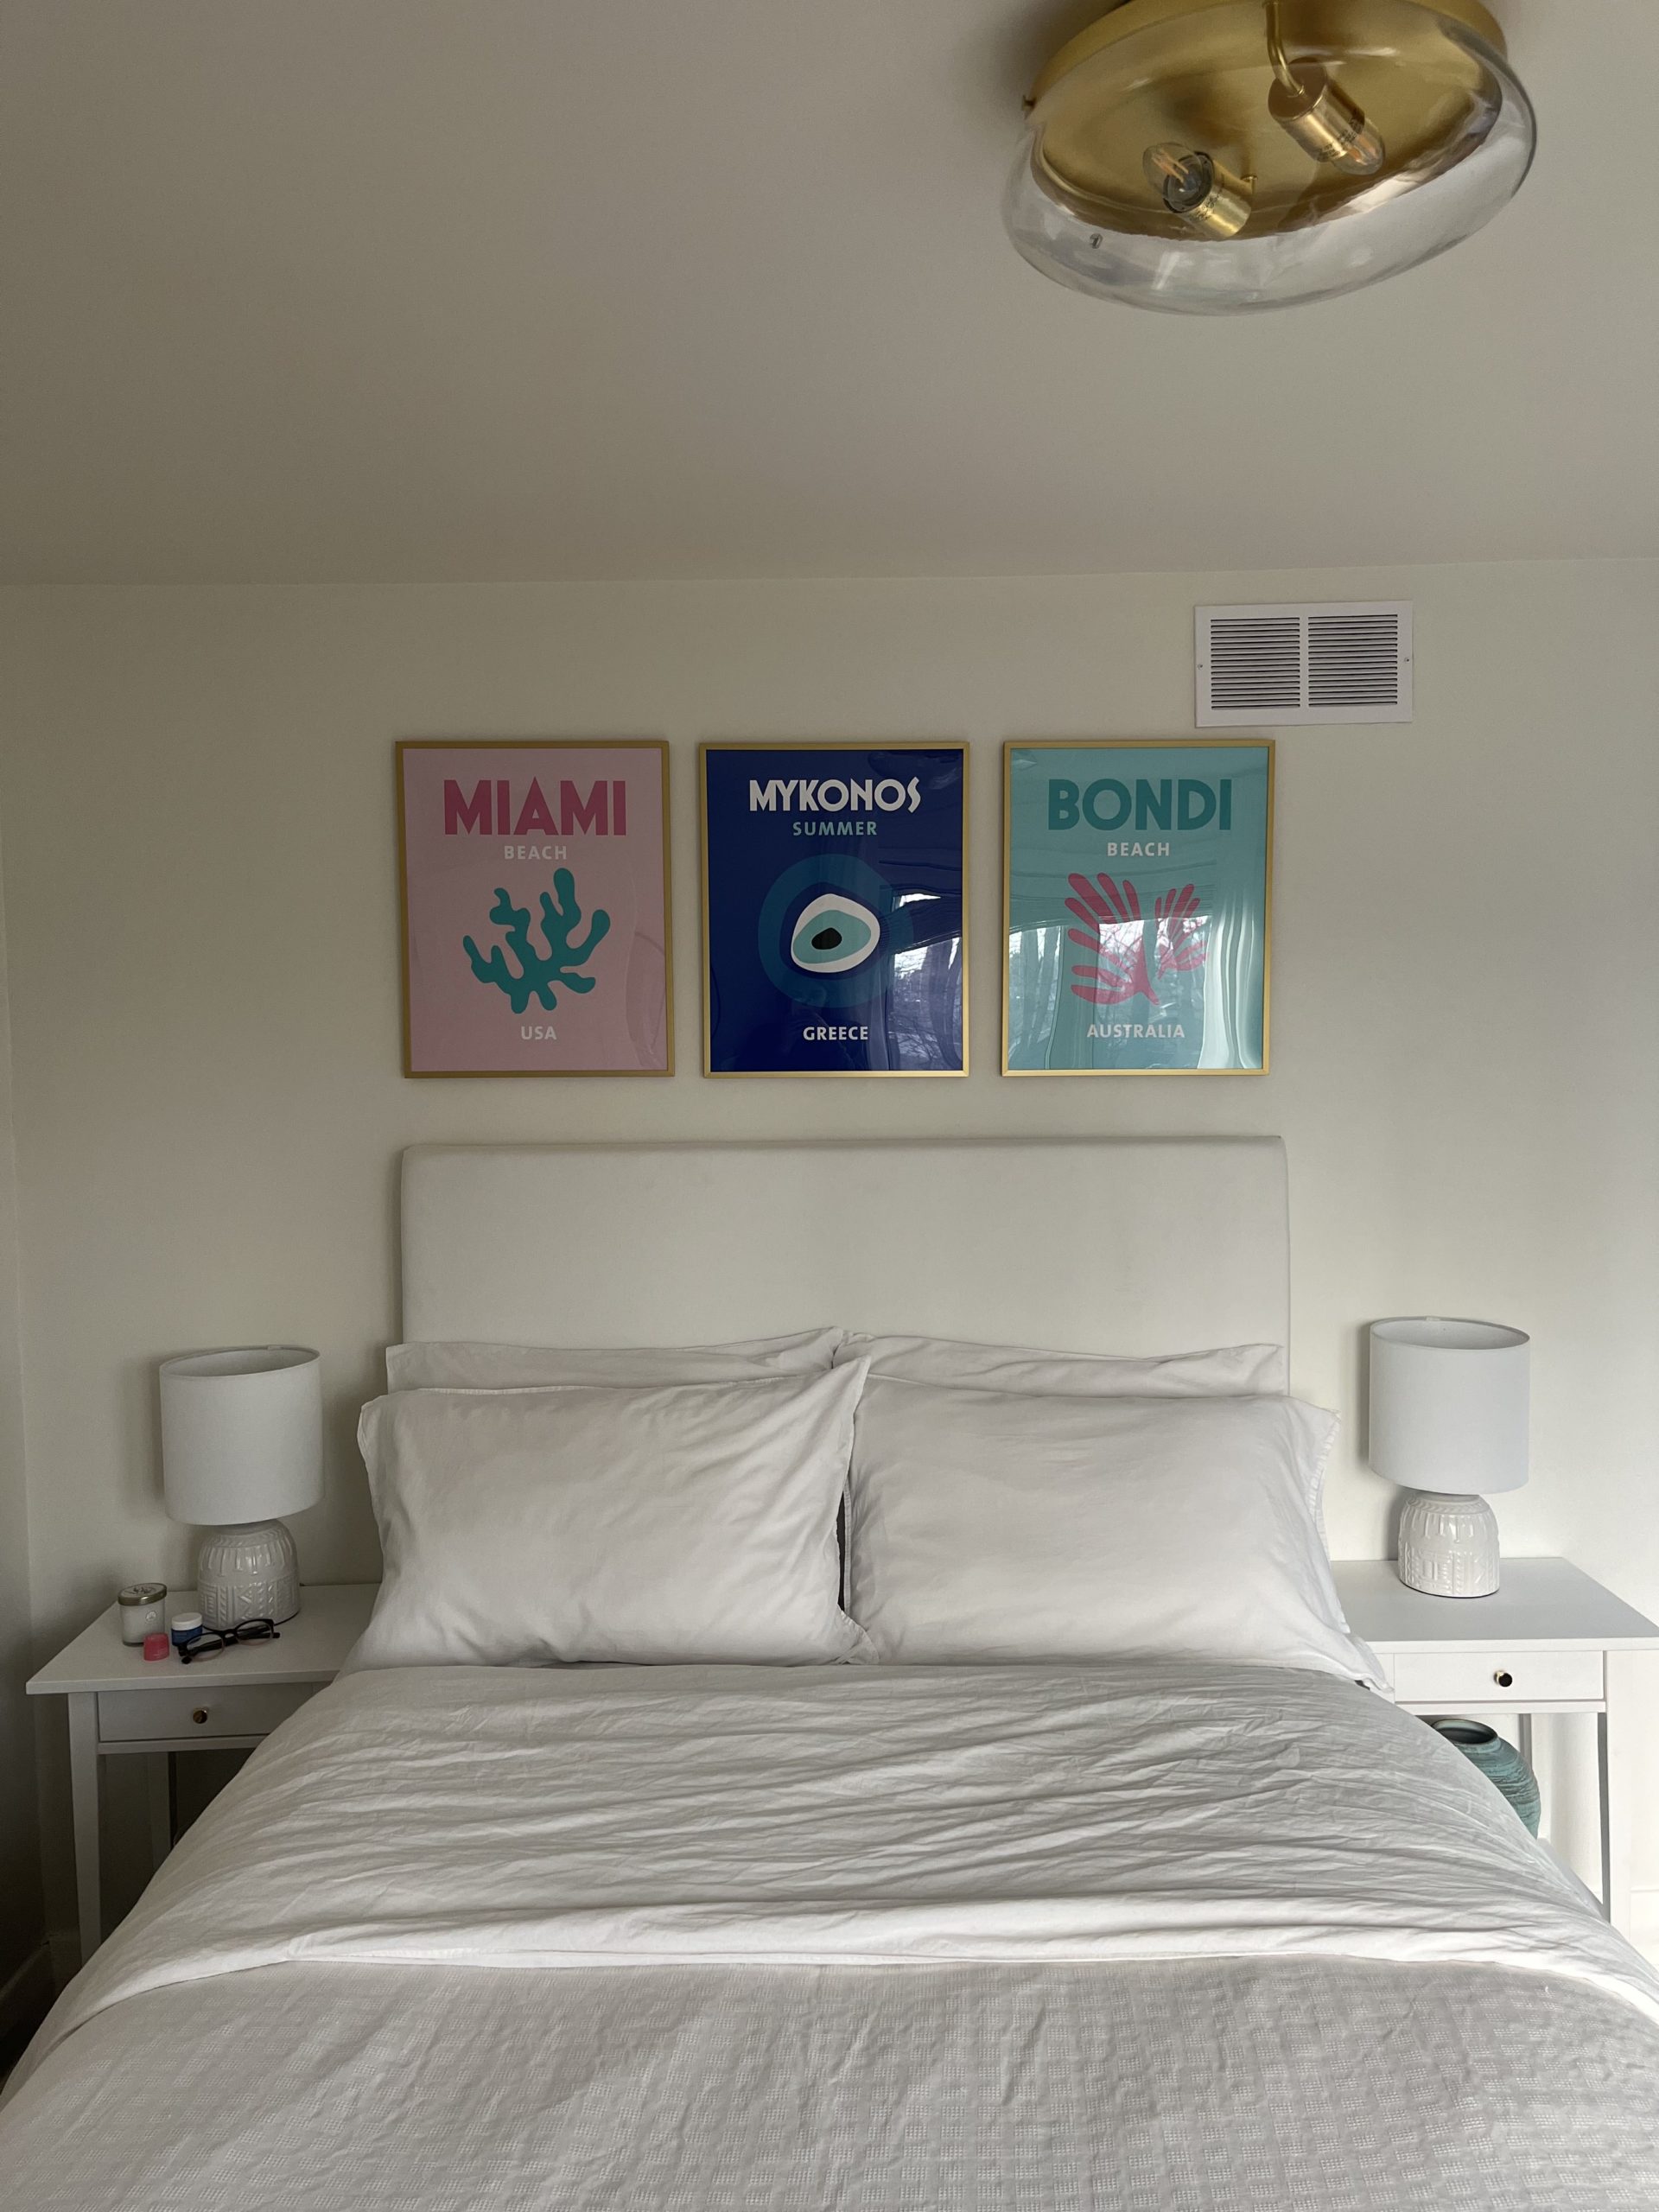
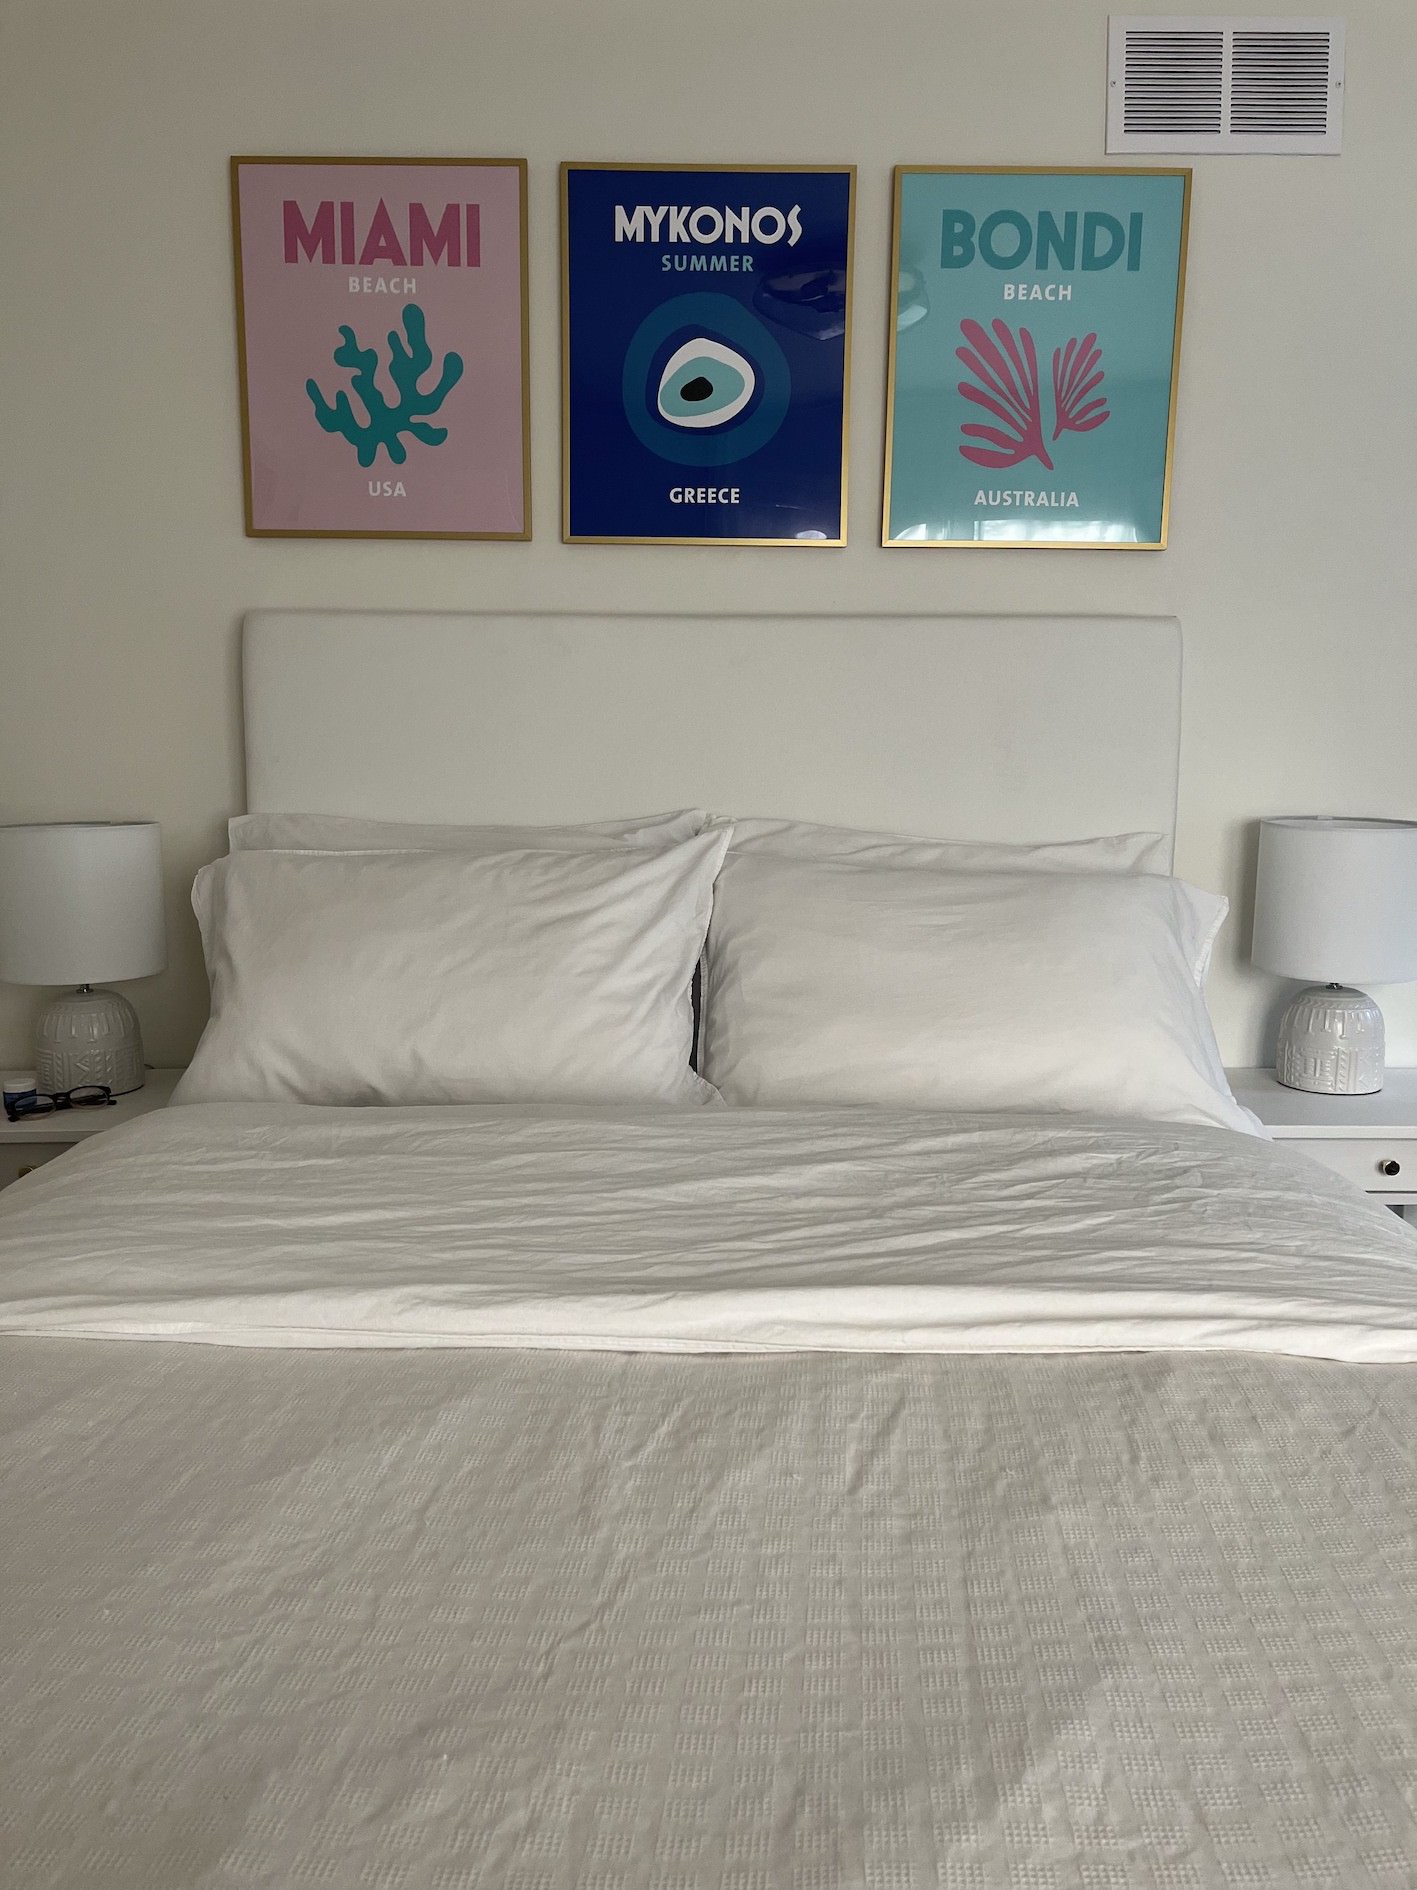
Headboard & Bedroom Refresh
Headboard
Click on an image to enlarge.
Medium
Construction
Dimensions
30″ x 54″ x 3″
Material(s)
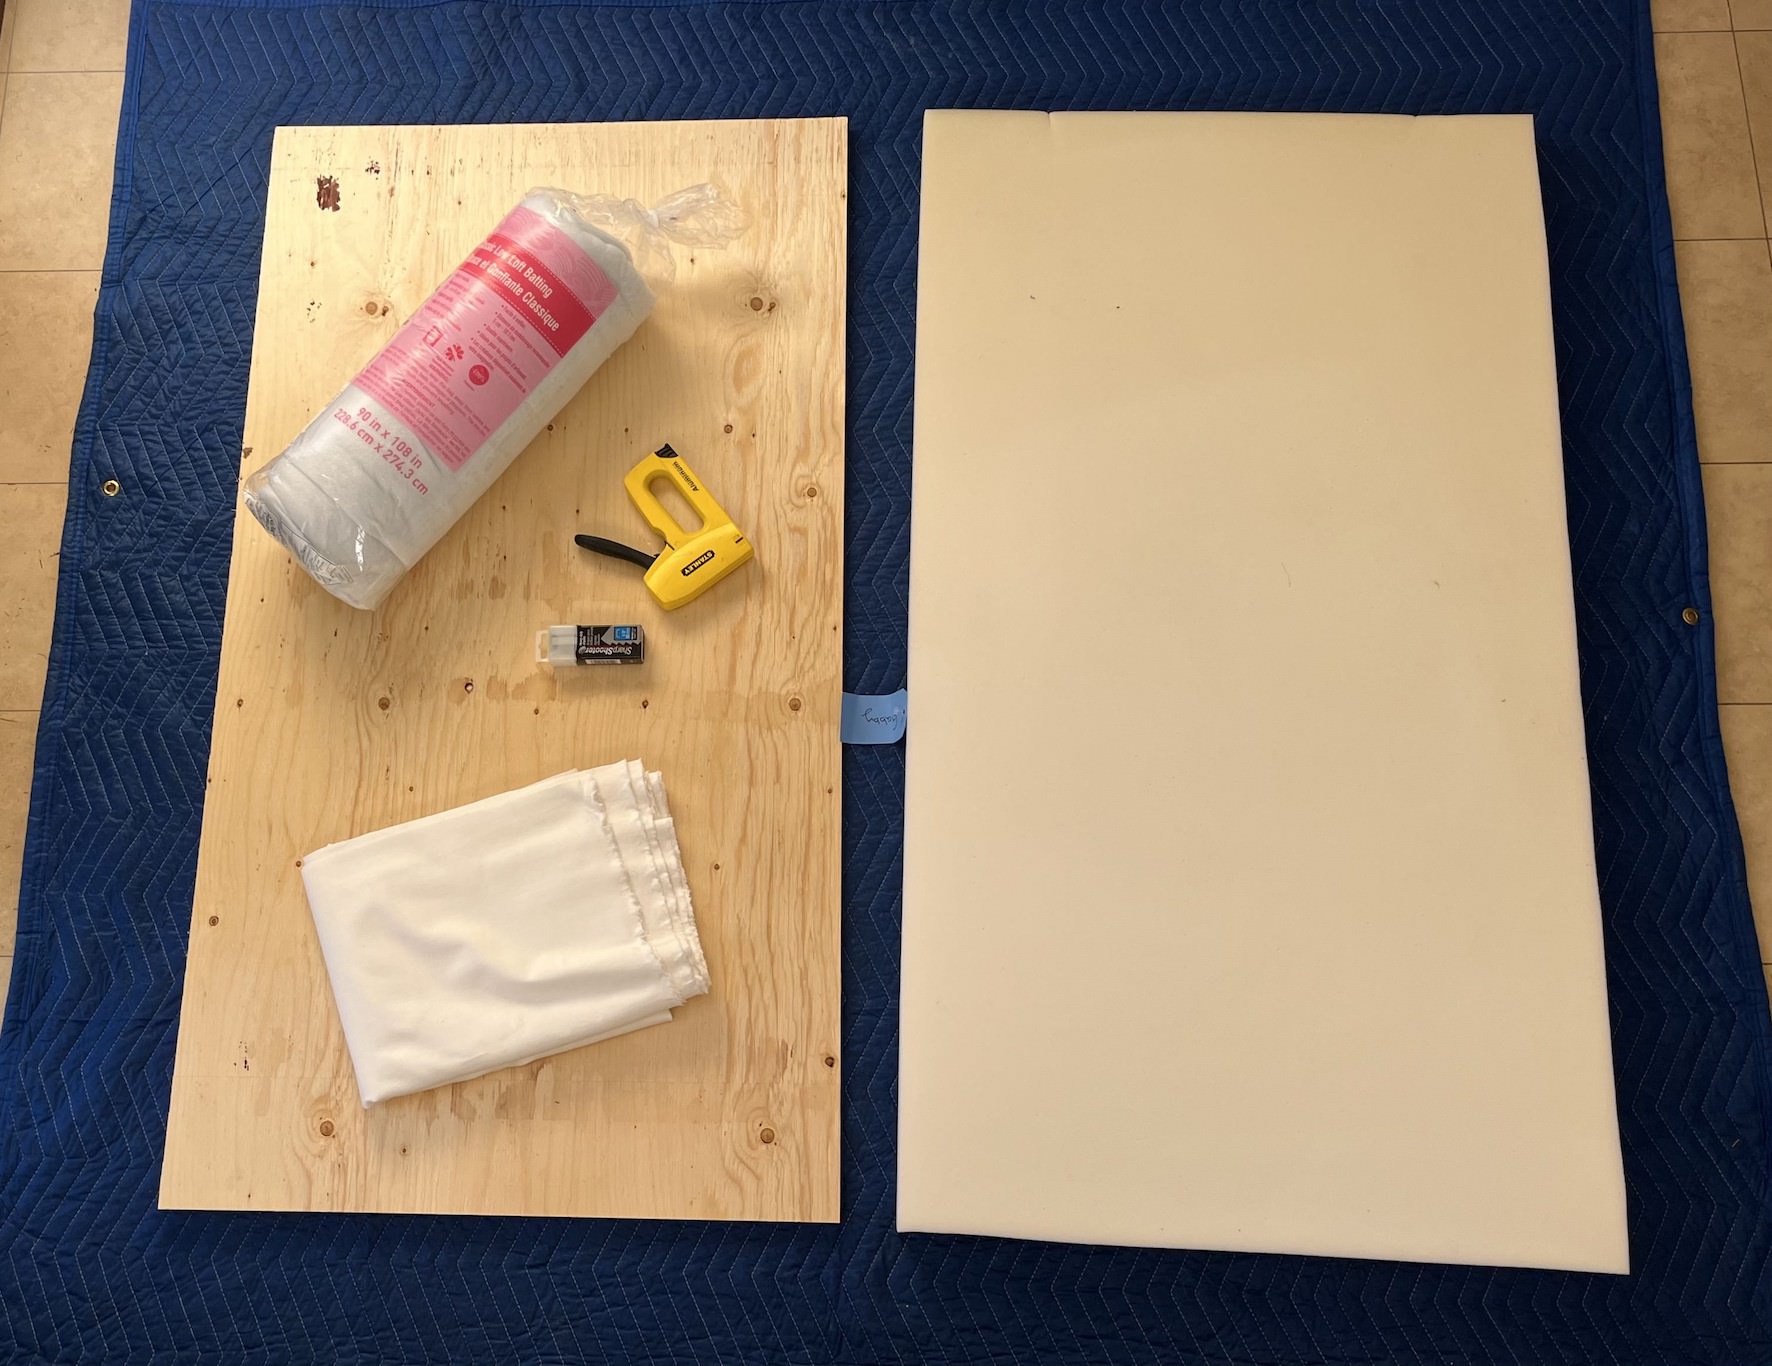
high density foam, plywood, batting, fabric, staple gun, staples, brackets, measuring tape, level
Date
December 2021/Janurary 2022
Artist Statement
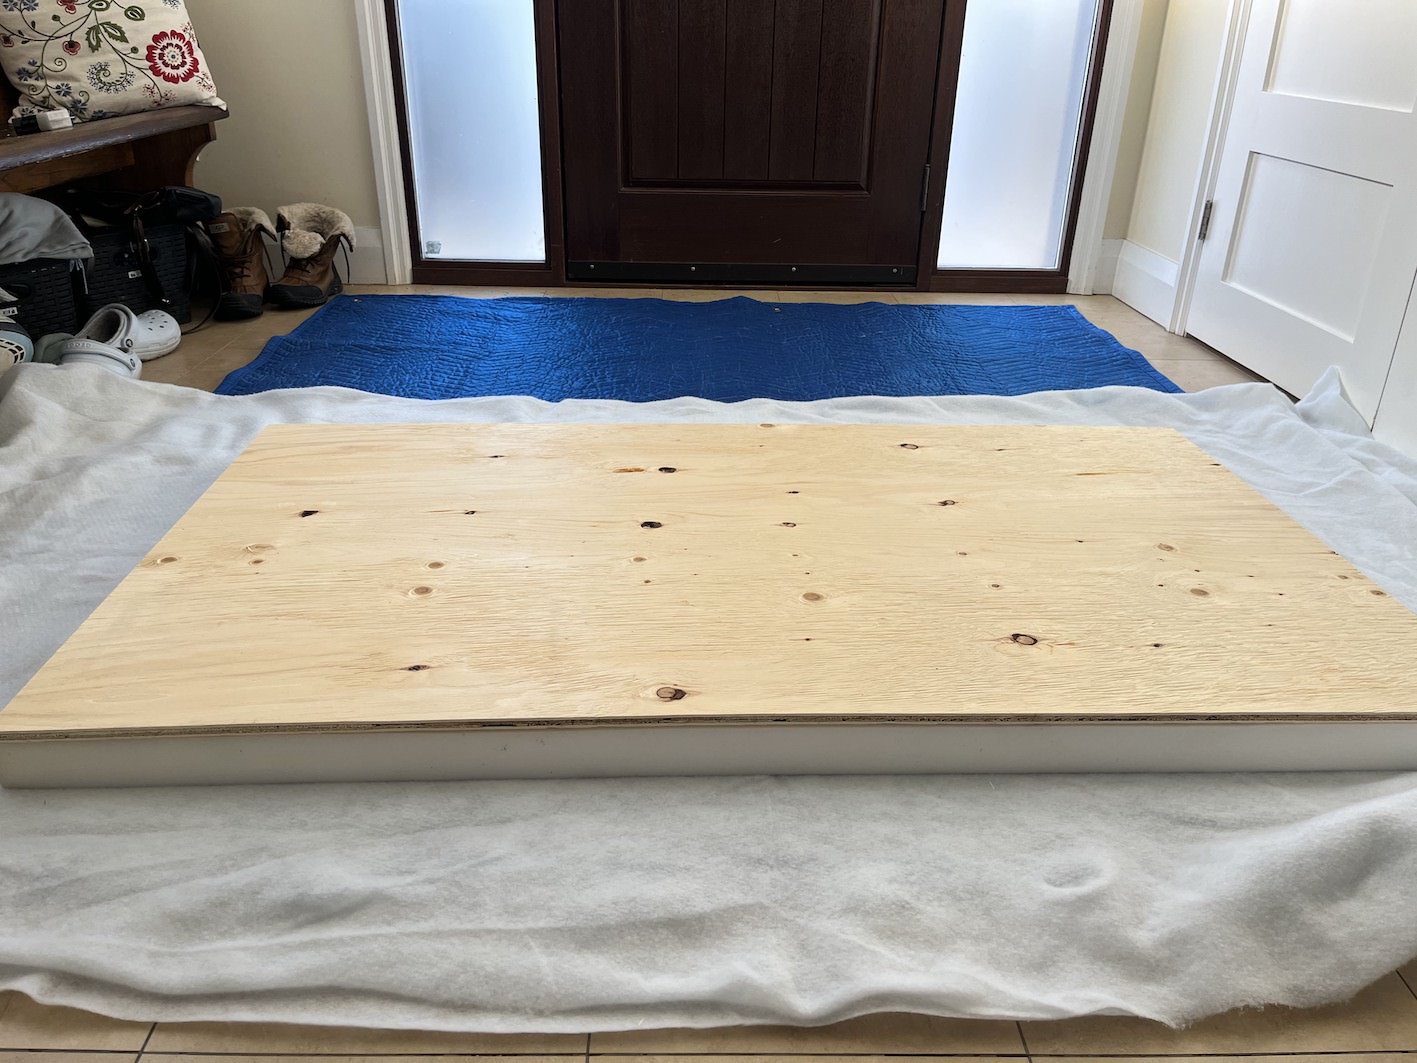
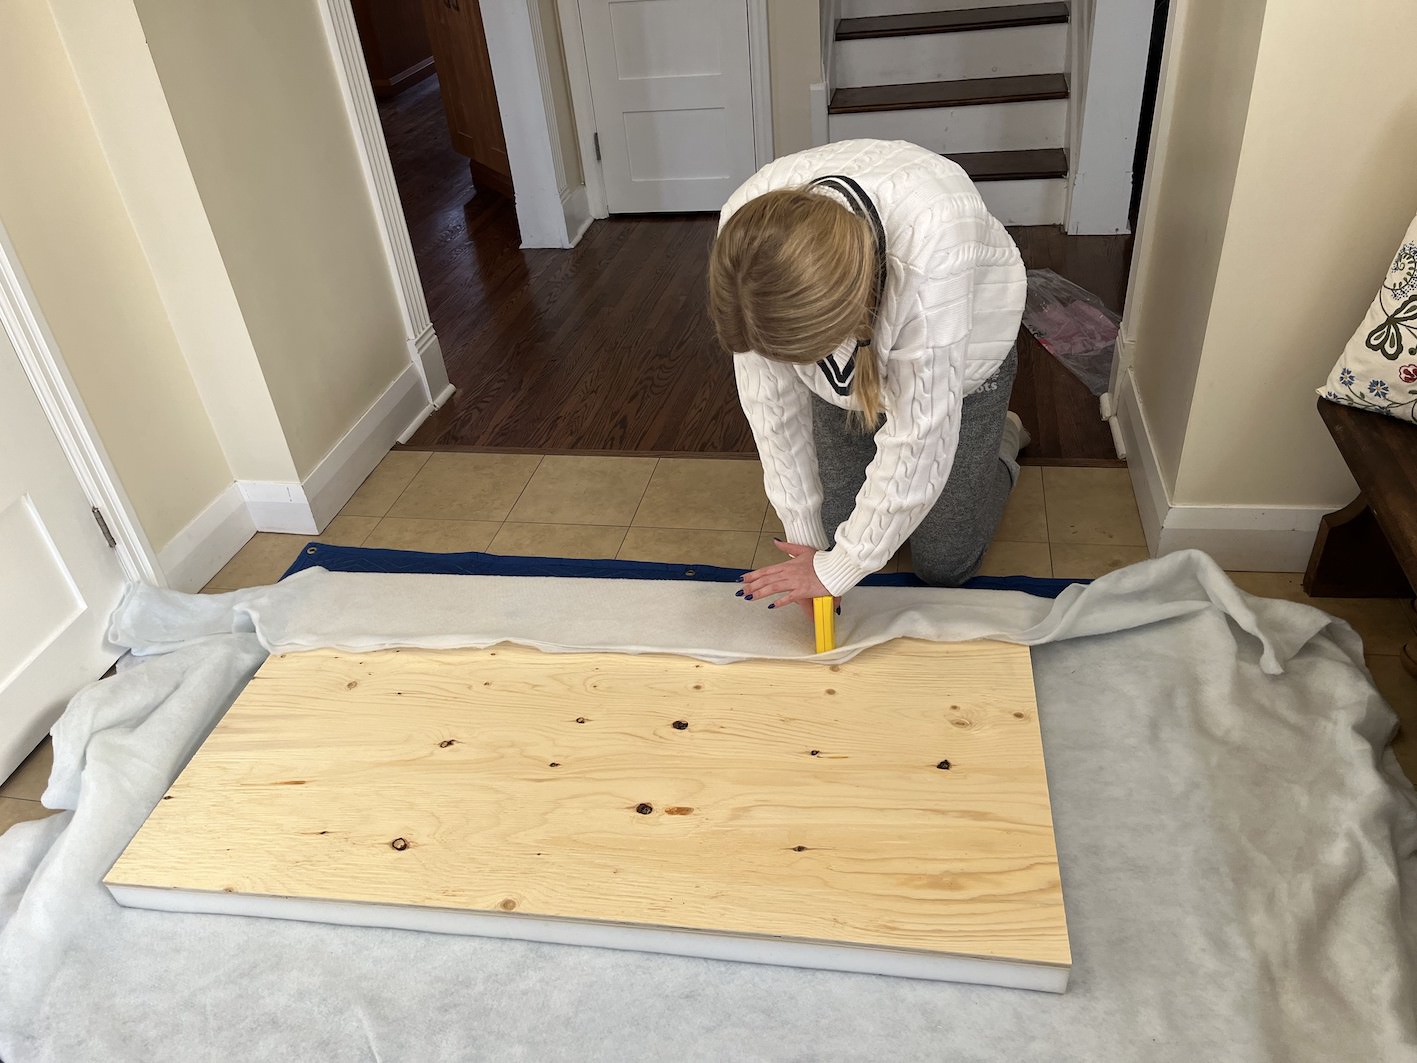
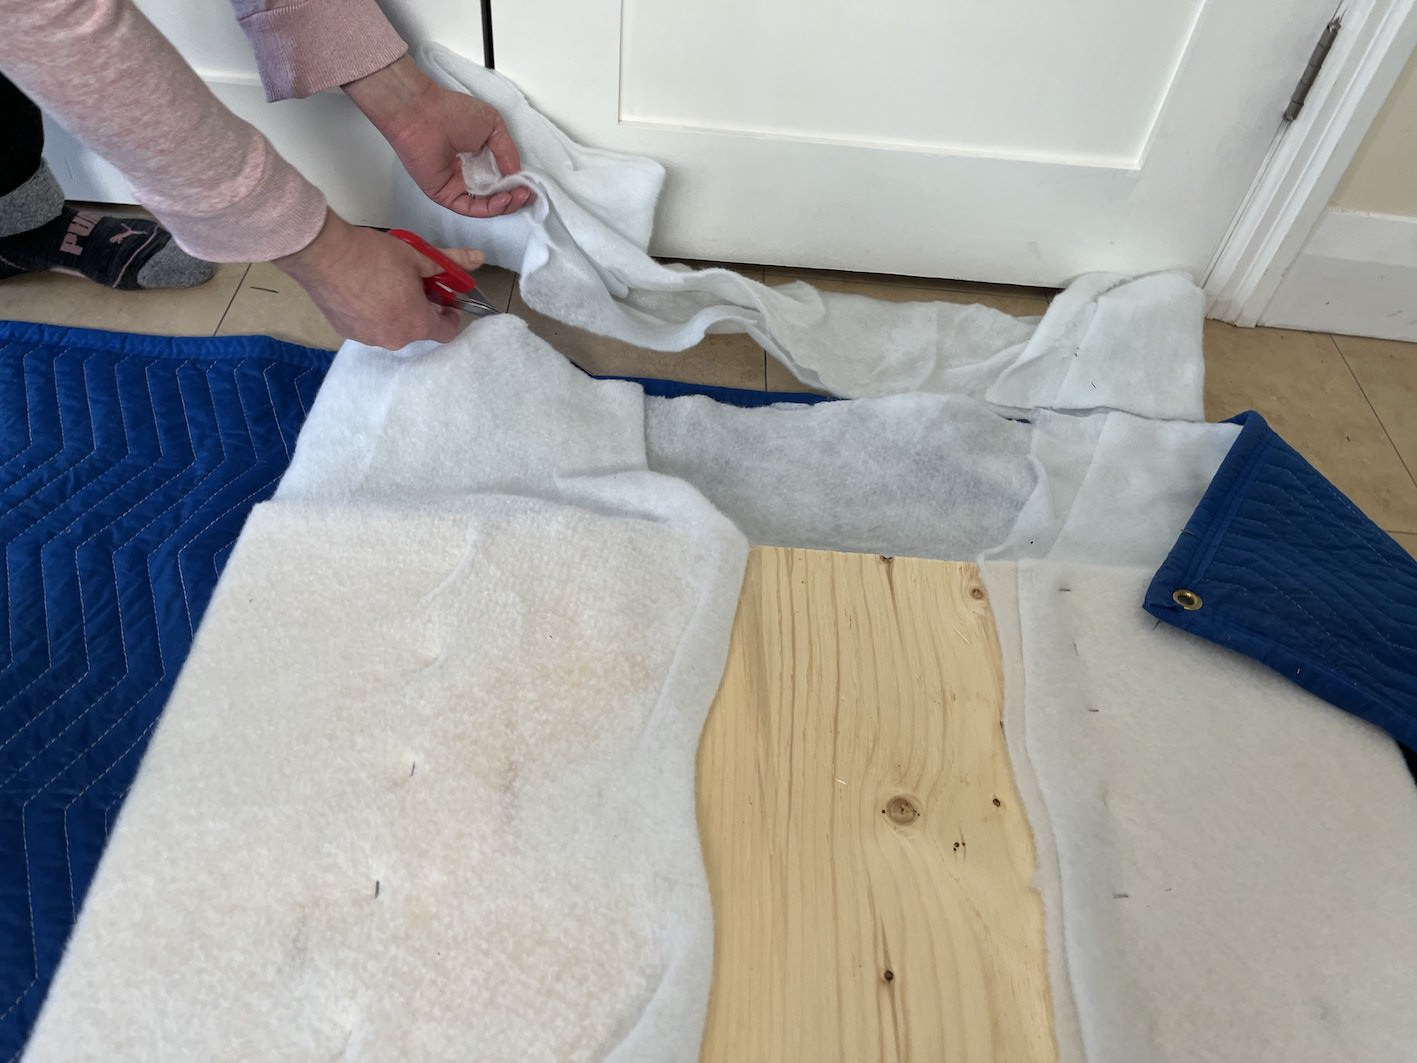
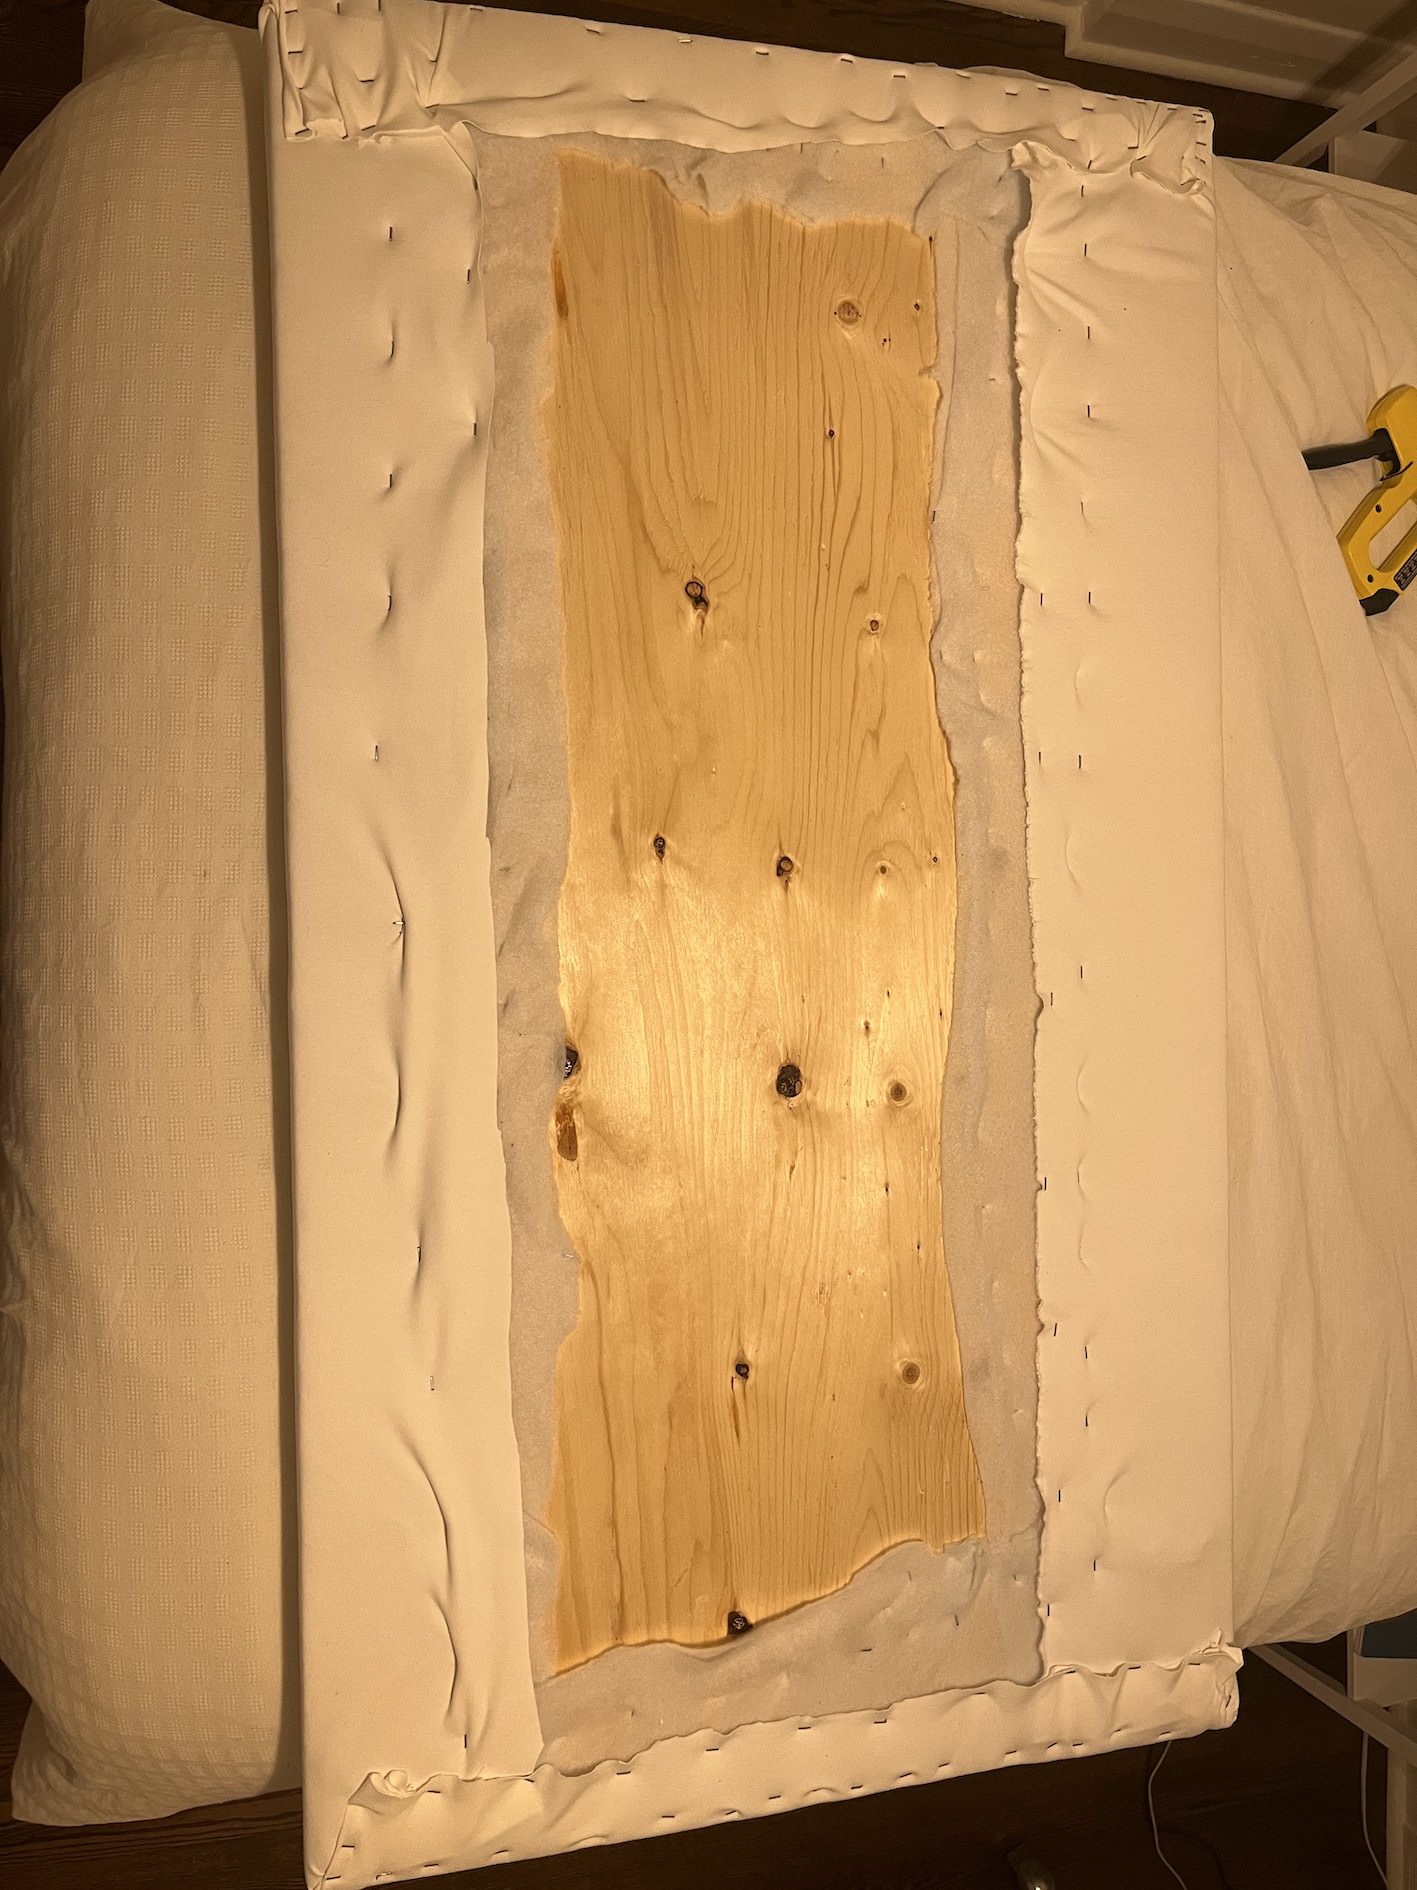
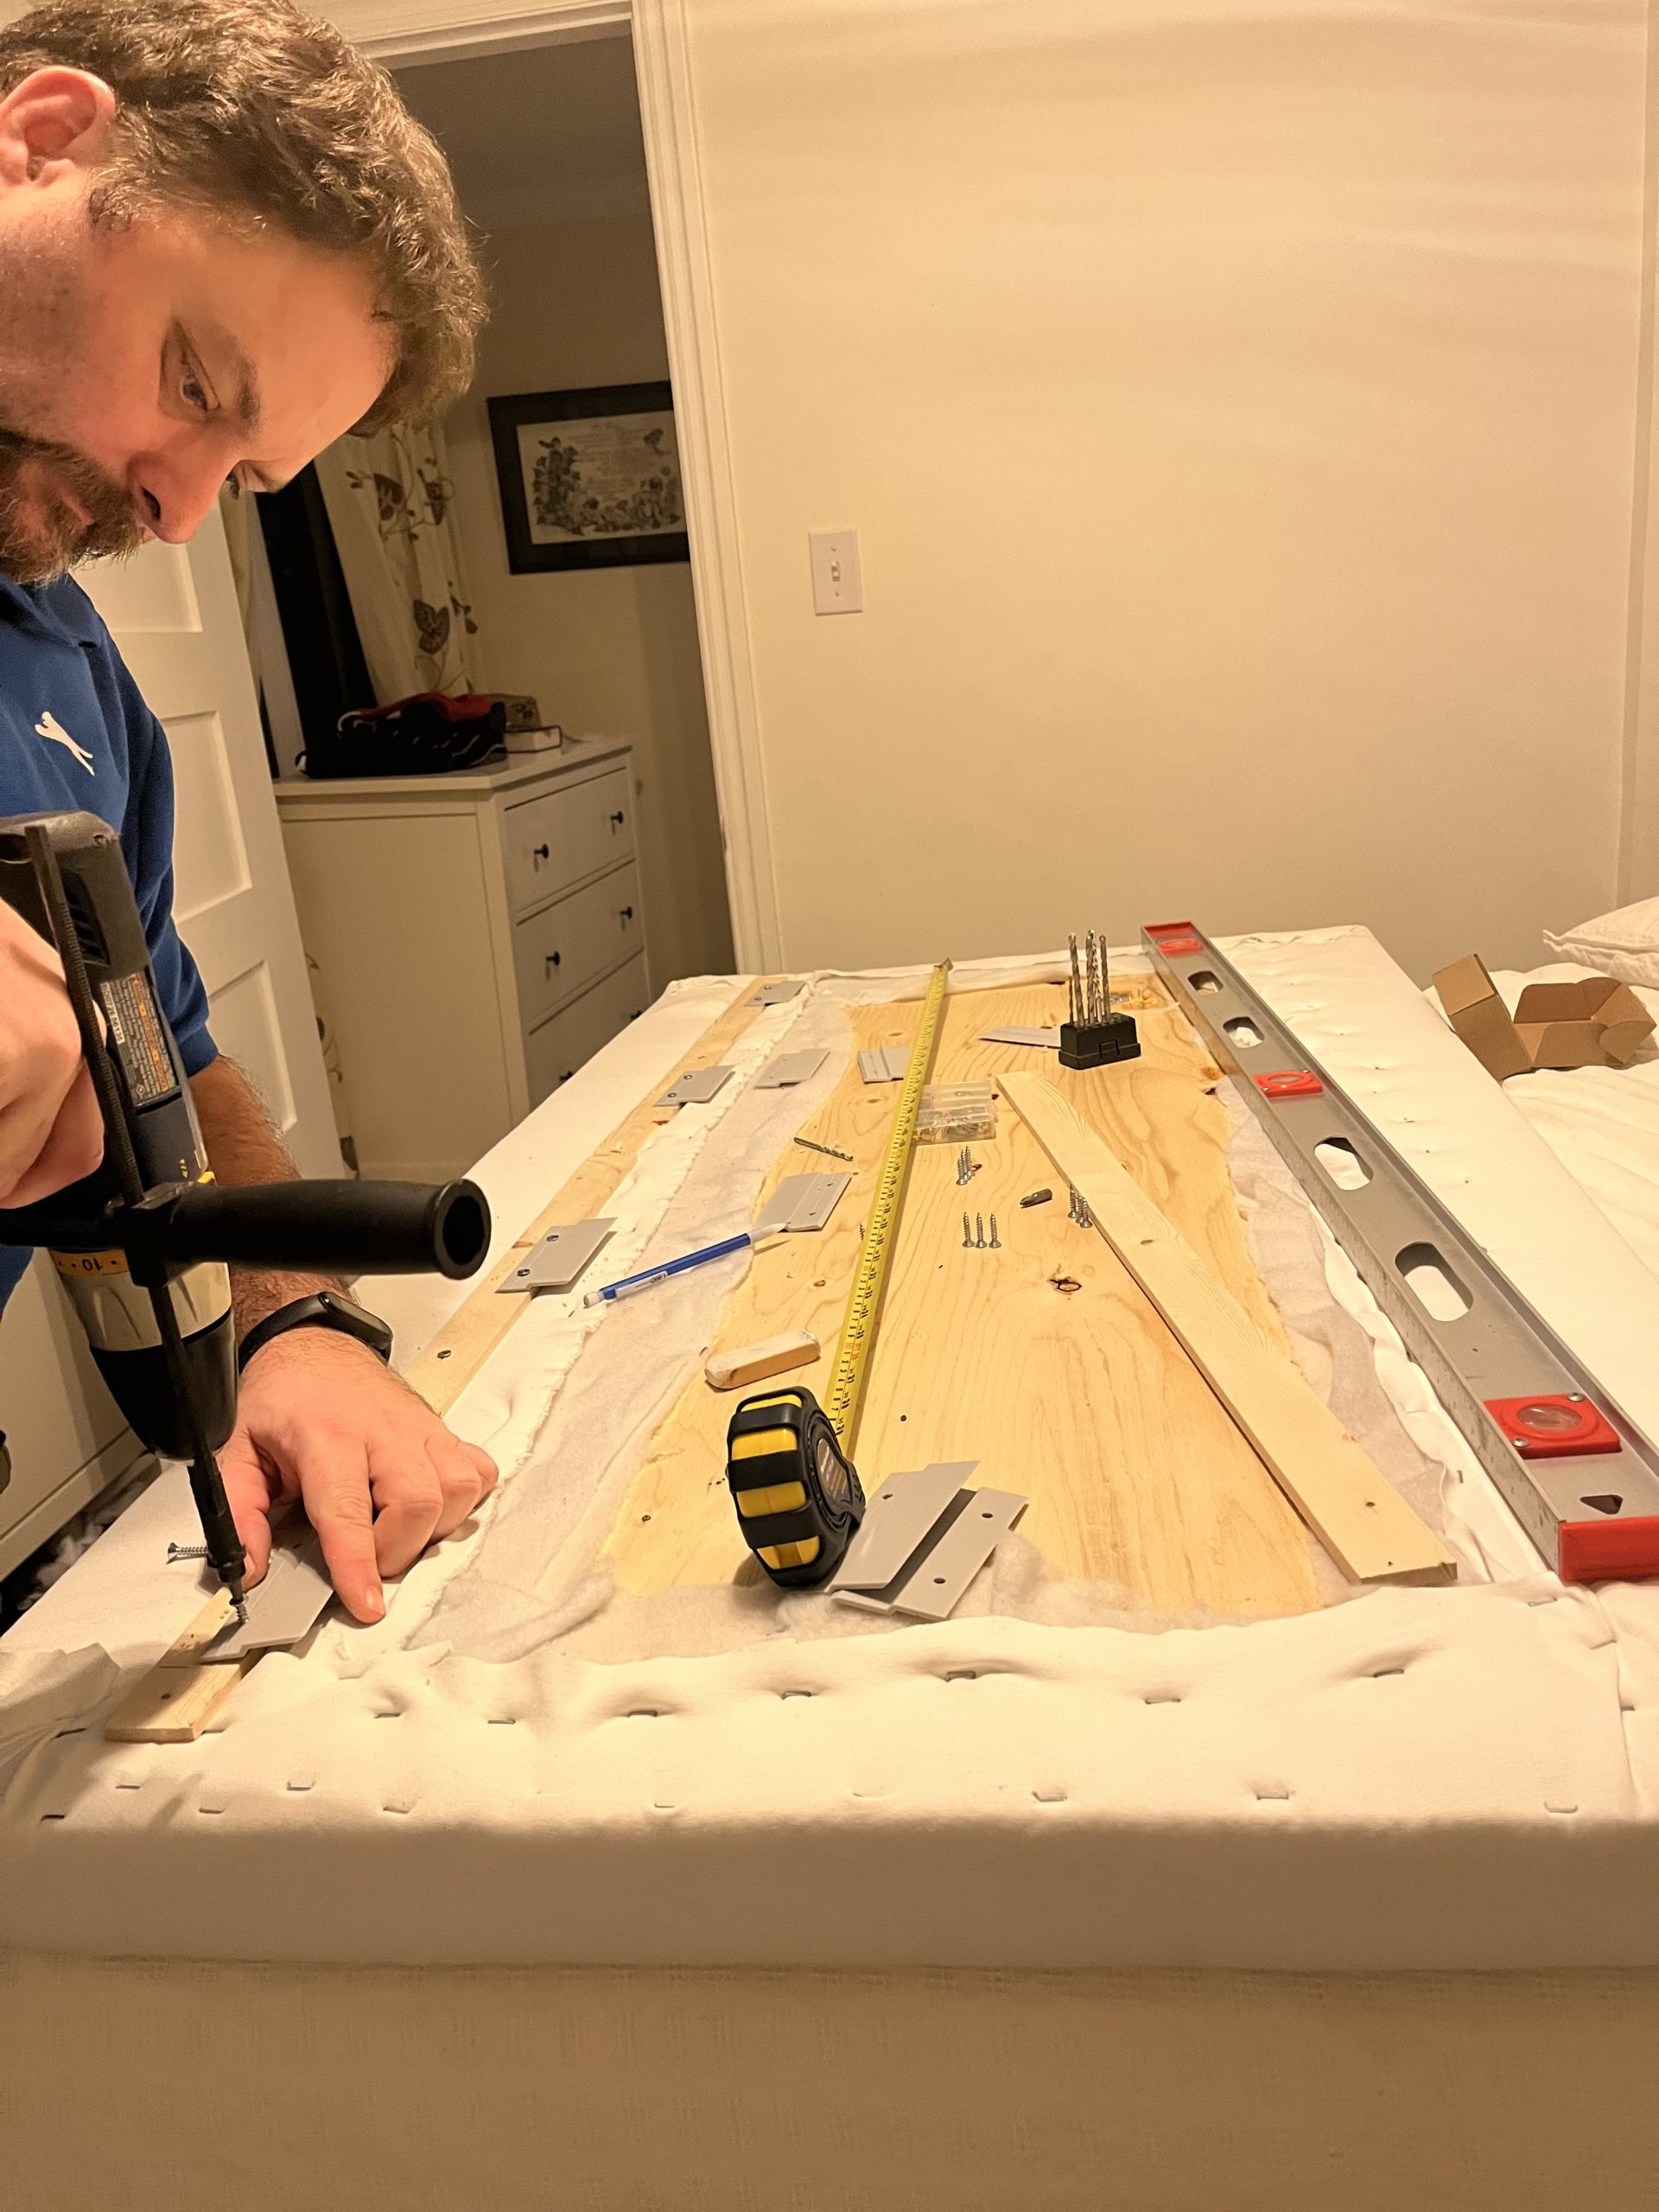
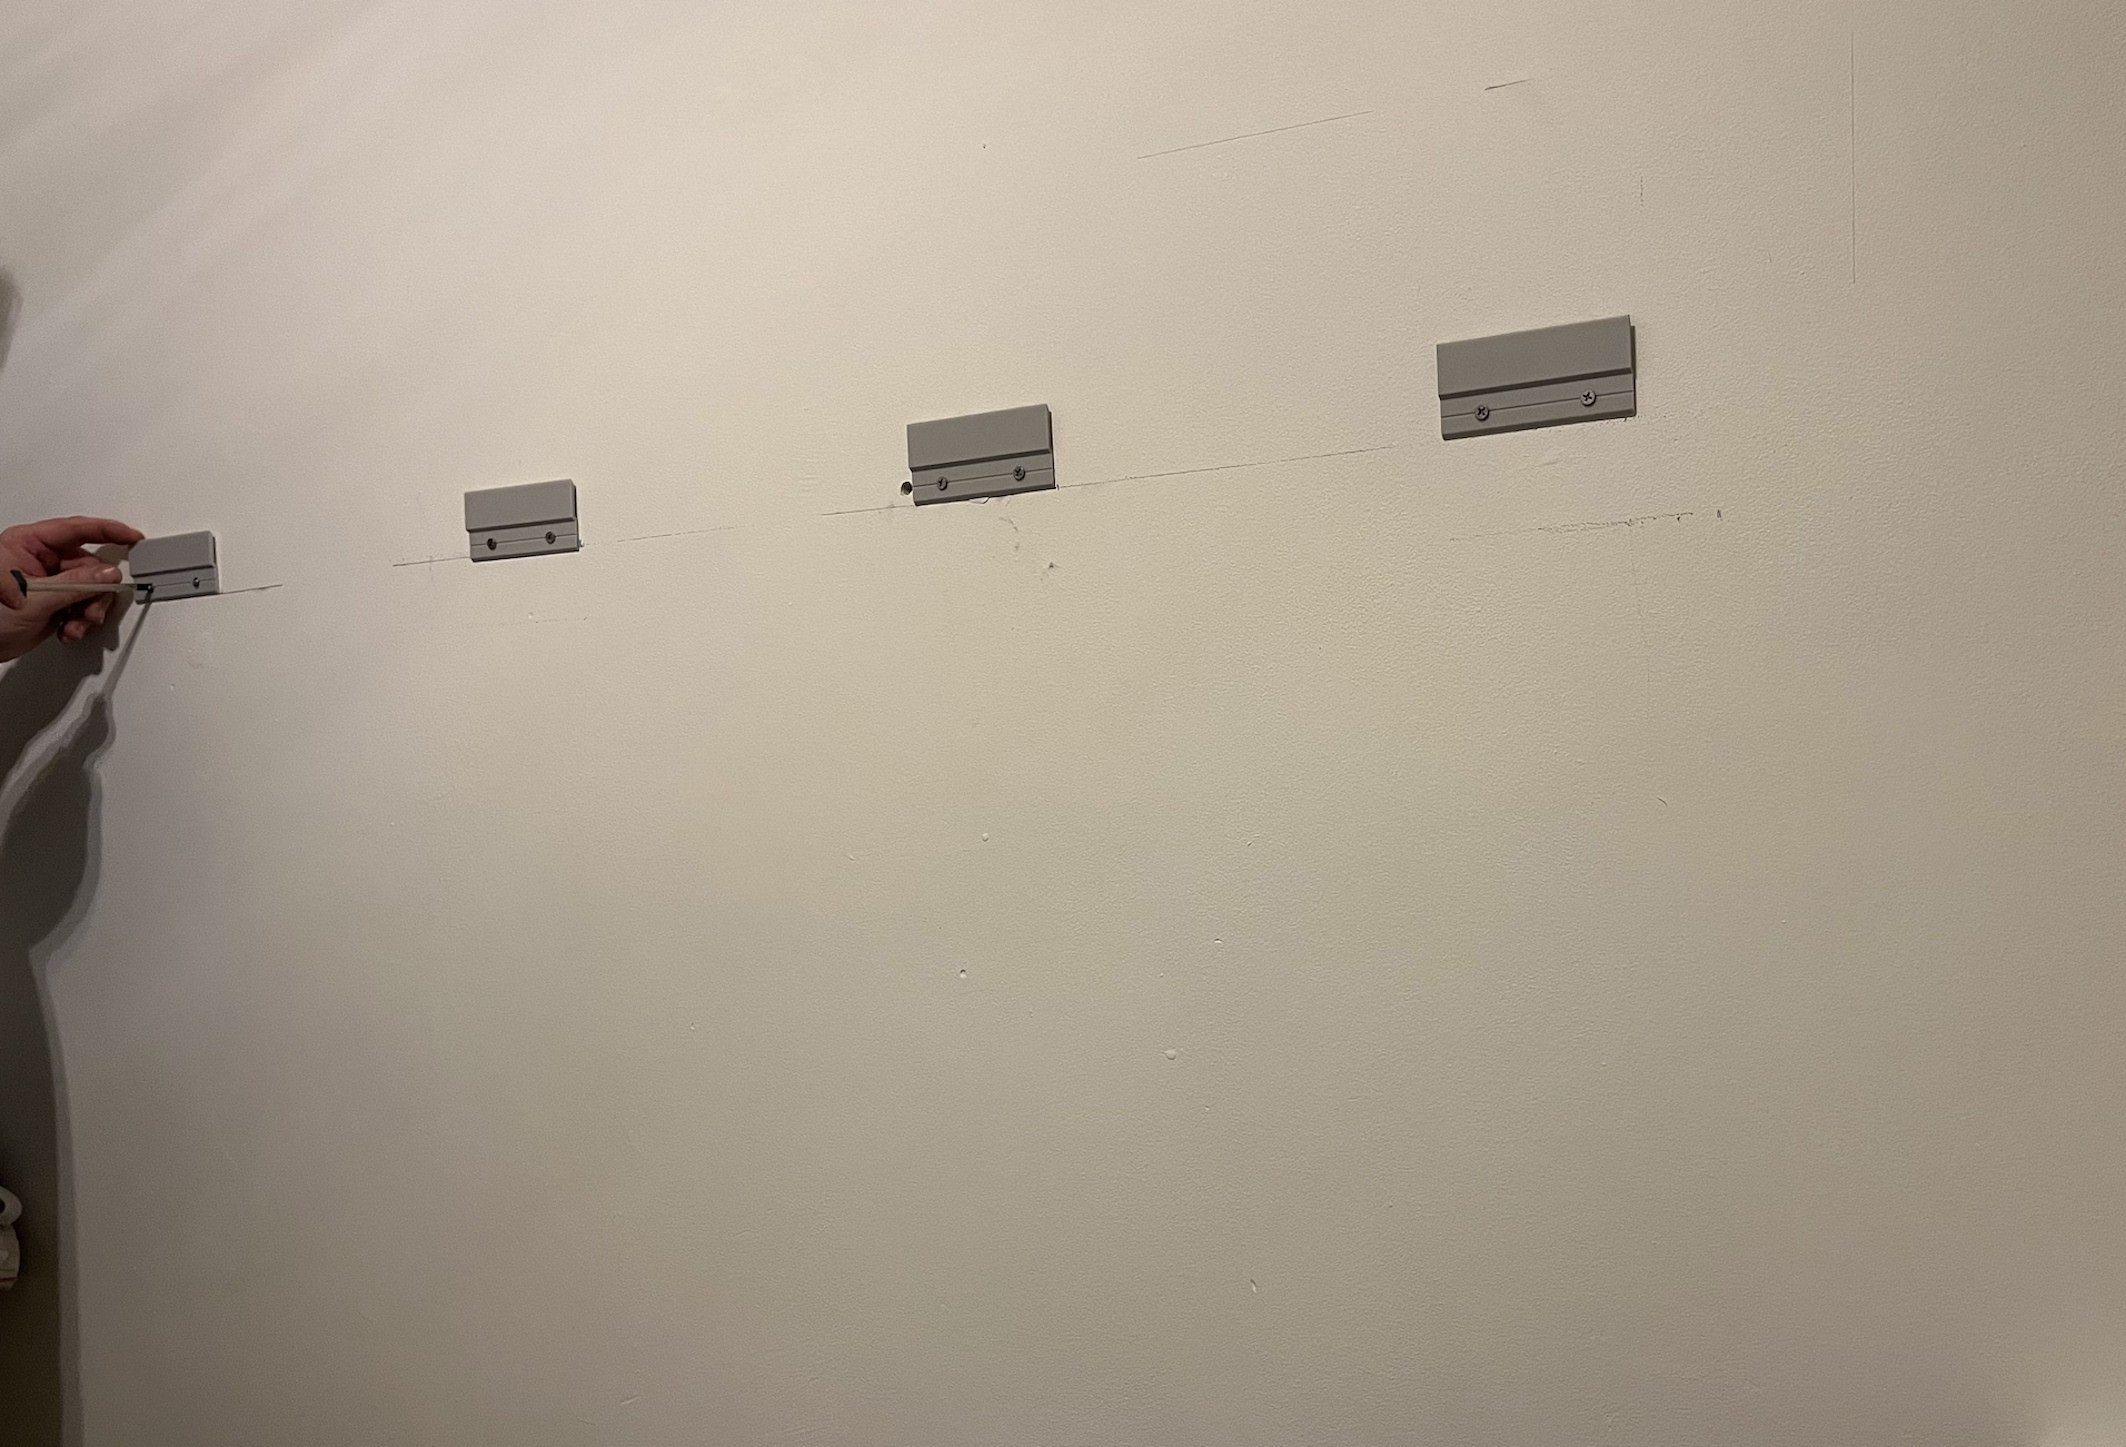
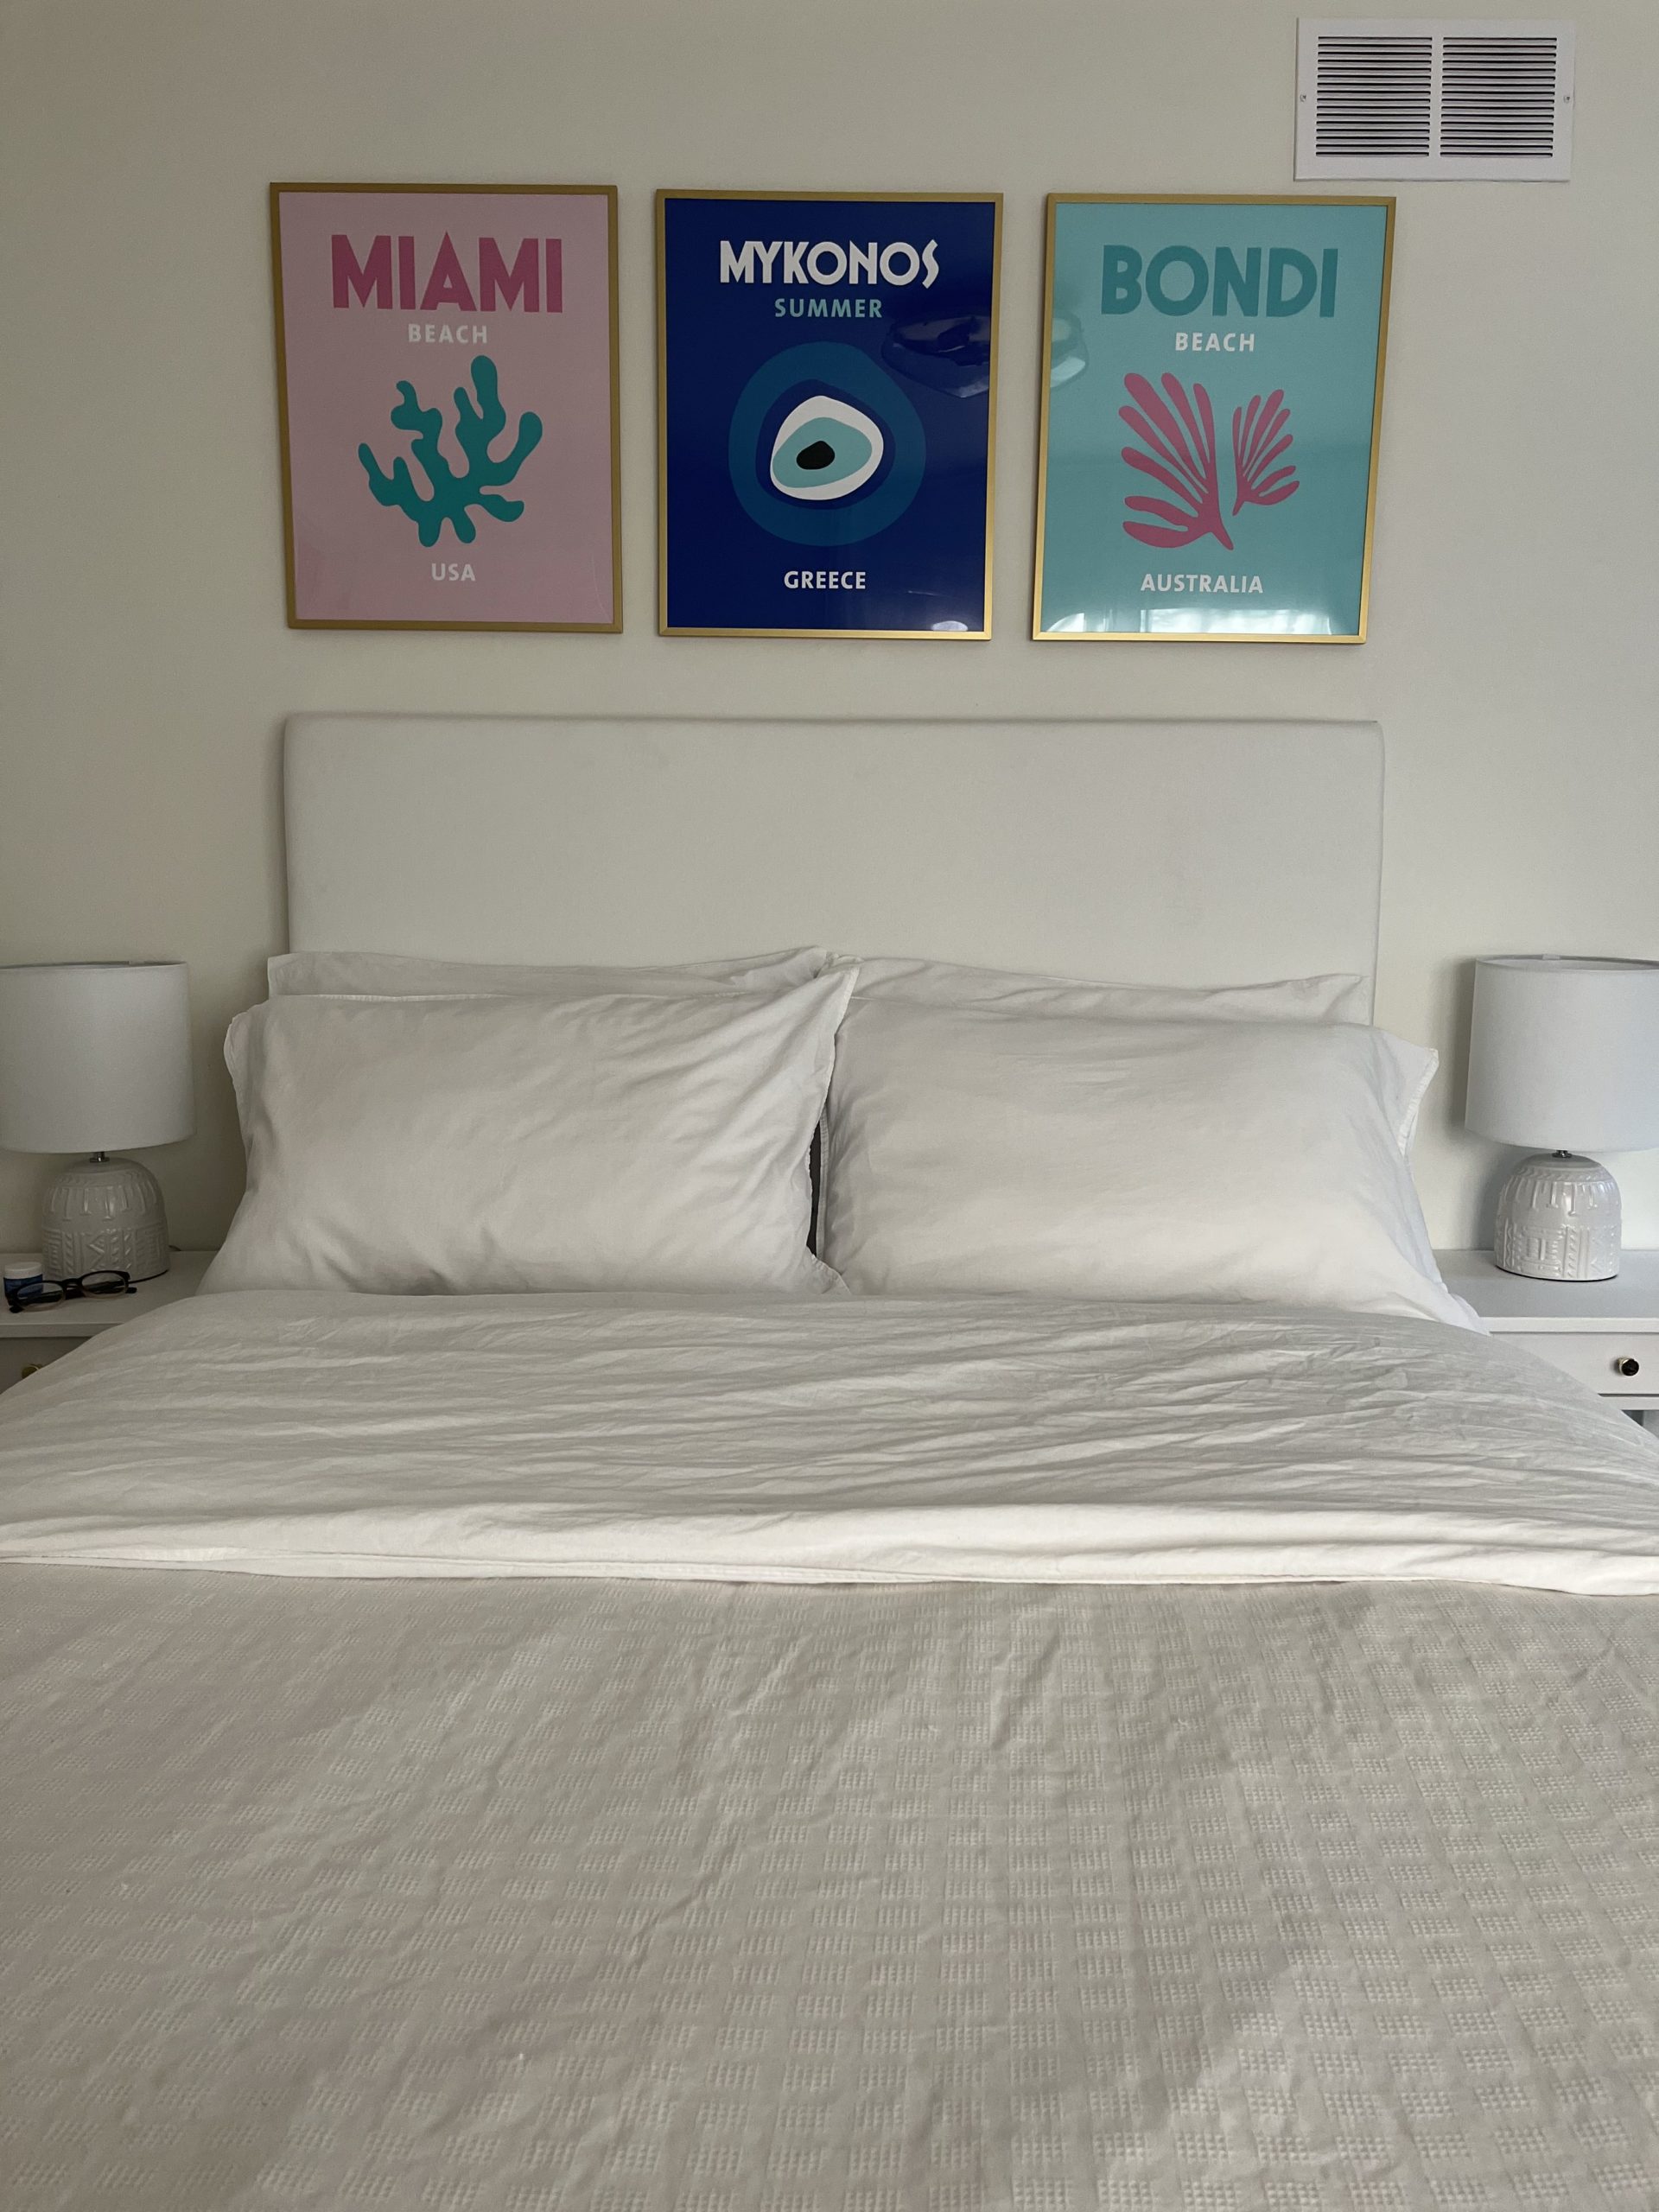
This project was super fun to create. From the planning, to the shopping, to the constructing I loved the whole process. Whether it be building a dock, or some ikea furniture I have always loved building and putting things together. To build my headboard I started with gathering my materials. My next step was laying the plywood and foam on the batting so I could staplegun it around the back to hold it together. I cut off the excess batting from the sides before stapleing them, and then repeated the process with my fabric. In order to mount the headboard to the wall I had purchased headboard wall brackets off amazon. A bracket is two pieces of a clip and one hangs off the other. I ran into a problem as I didn’t think the clips would catch because if the extra width gained on the back of the headboard gained from the batting and fabric. To solve this problem I had to improvise by attaching two strips of wood to the back of the headboard so that the clips would stick out past the batting and fabric.
Room Refresh
Click on an image to enlarge.